


TESTING 1 2 3
Step-by-step lash lift & brow lamination
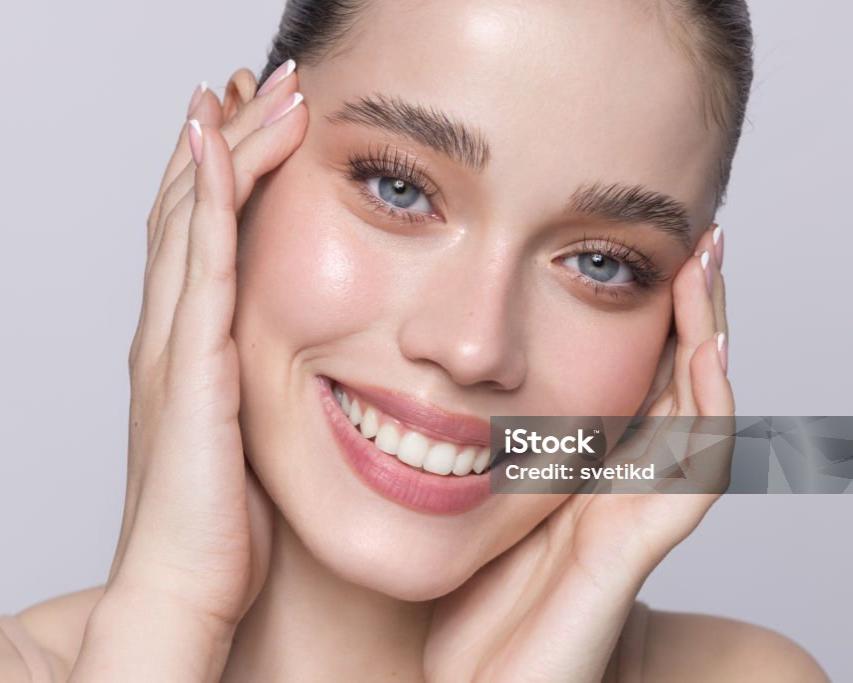
Ready to elevate those lashes, babe?
It’s time for a DIY lash lift that’ll have your lashes looking so perfect, they’ll be asking for their own Instagram account.
Here’s your step-by-step guide to getting lashes that pop, all from the comfort of your own bathroom.
Let’s gooooo!
Subheading
Step 1 - 4
Step 1

Step 2
Step 3

Step 4
Subheading
Step 5 - 8
Step 5
Step 6
Step 7
Step 8
Subheading
Step 9 - 12
Step 9
Step 10

Step 11

Step 12
Subheading
Step 13 - 16

Step 13
Step 14
Step 15
Step 16
Subheading
Step 17 - 20
Step 17
Step 18
Step 20
Subheading
Step 21 - 24
Step 21
Step 22
Step 23
After Care Vibes:
Testing Meta Objects
Testing Object 1

Step 6 test

Step 7 test

Column 1
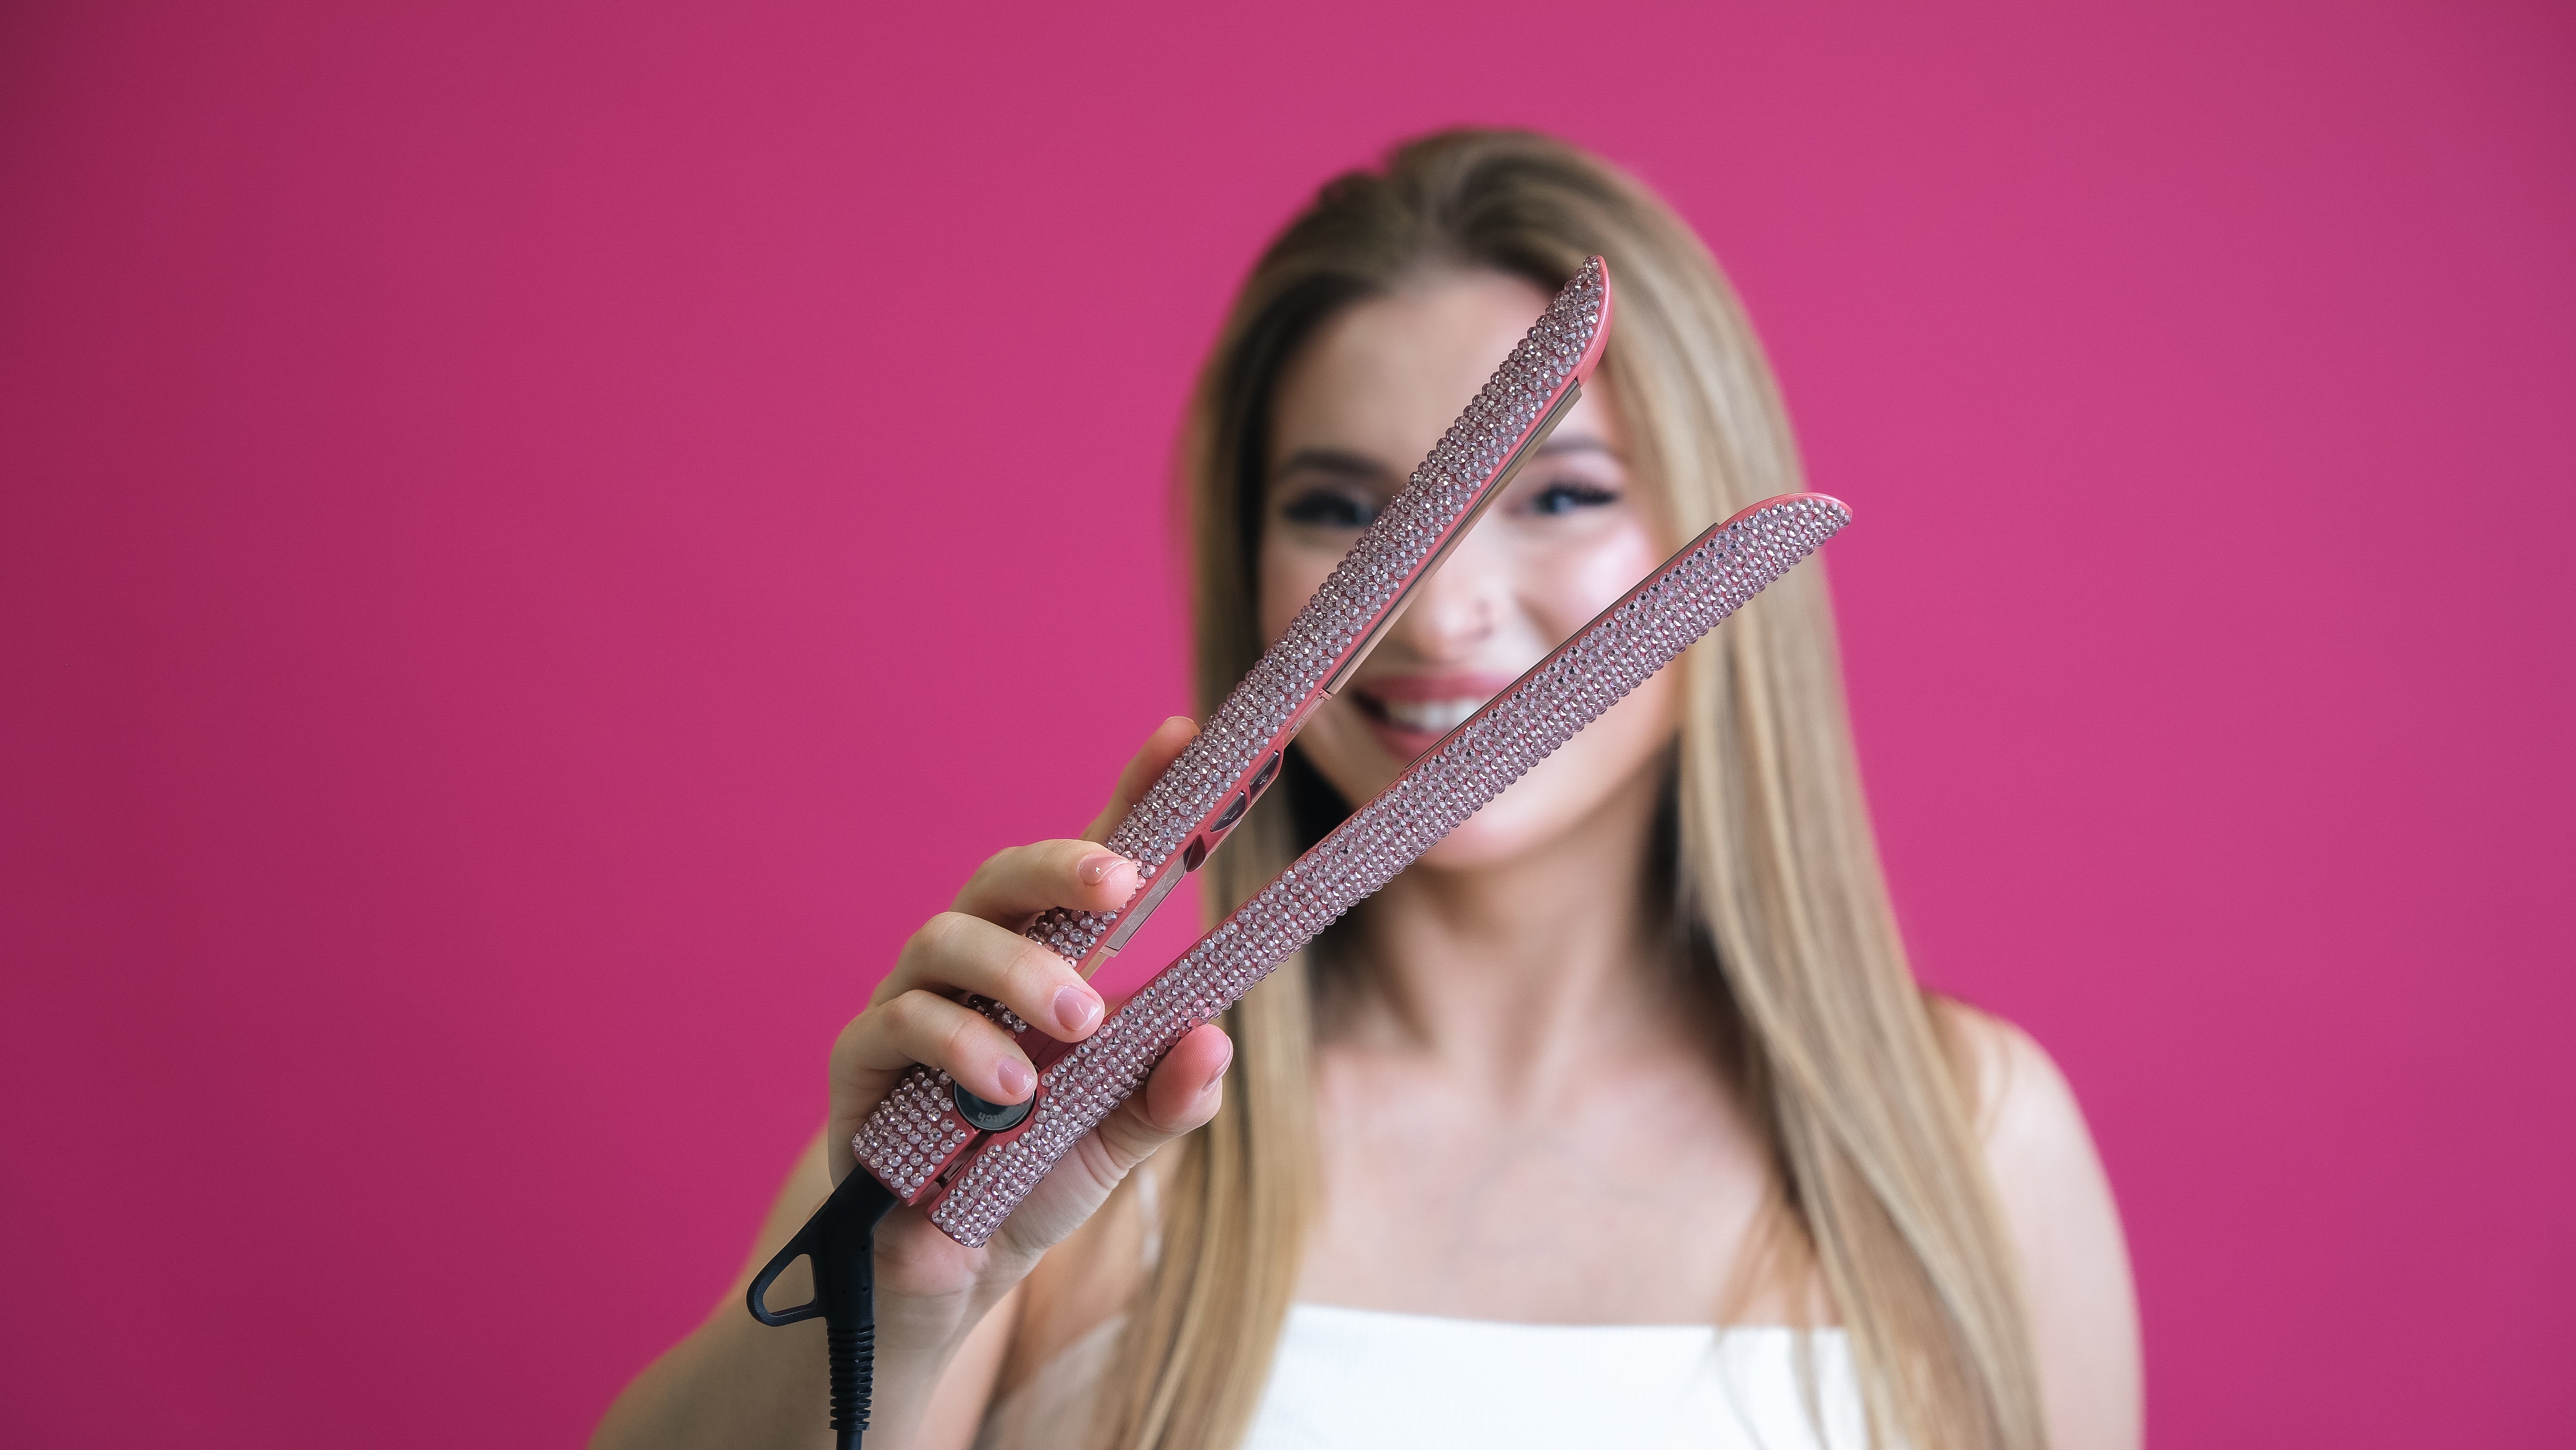
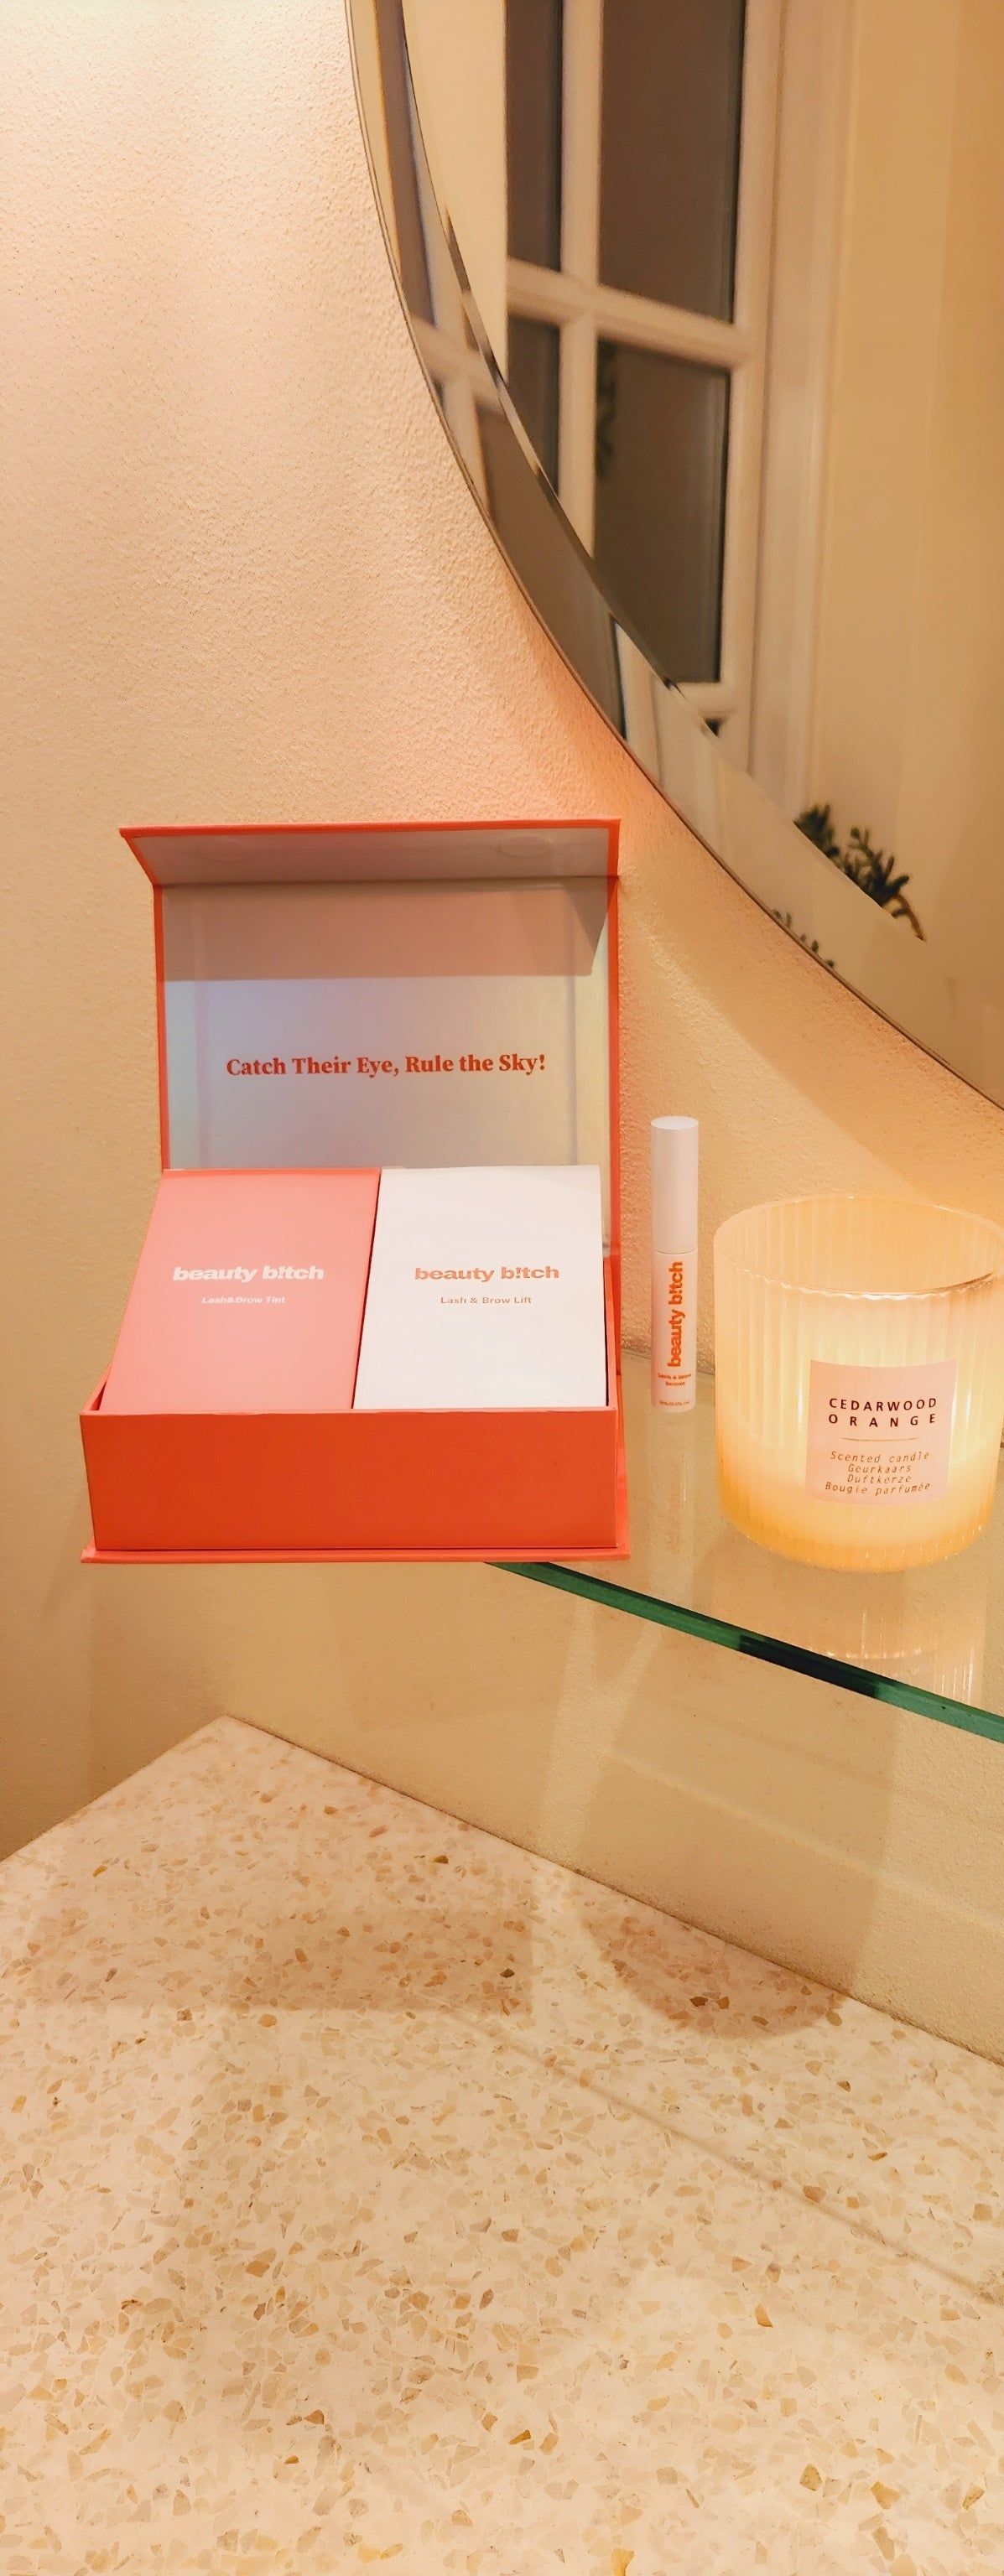
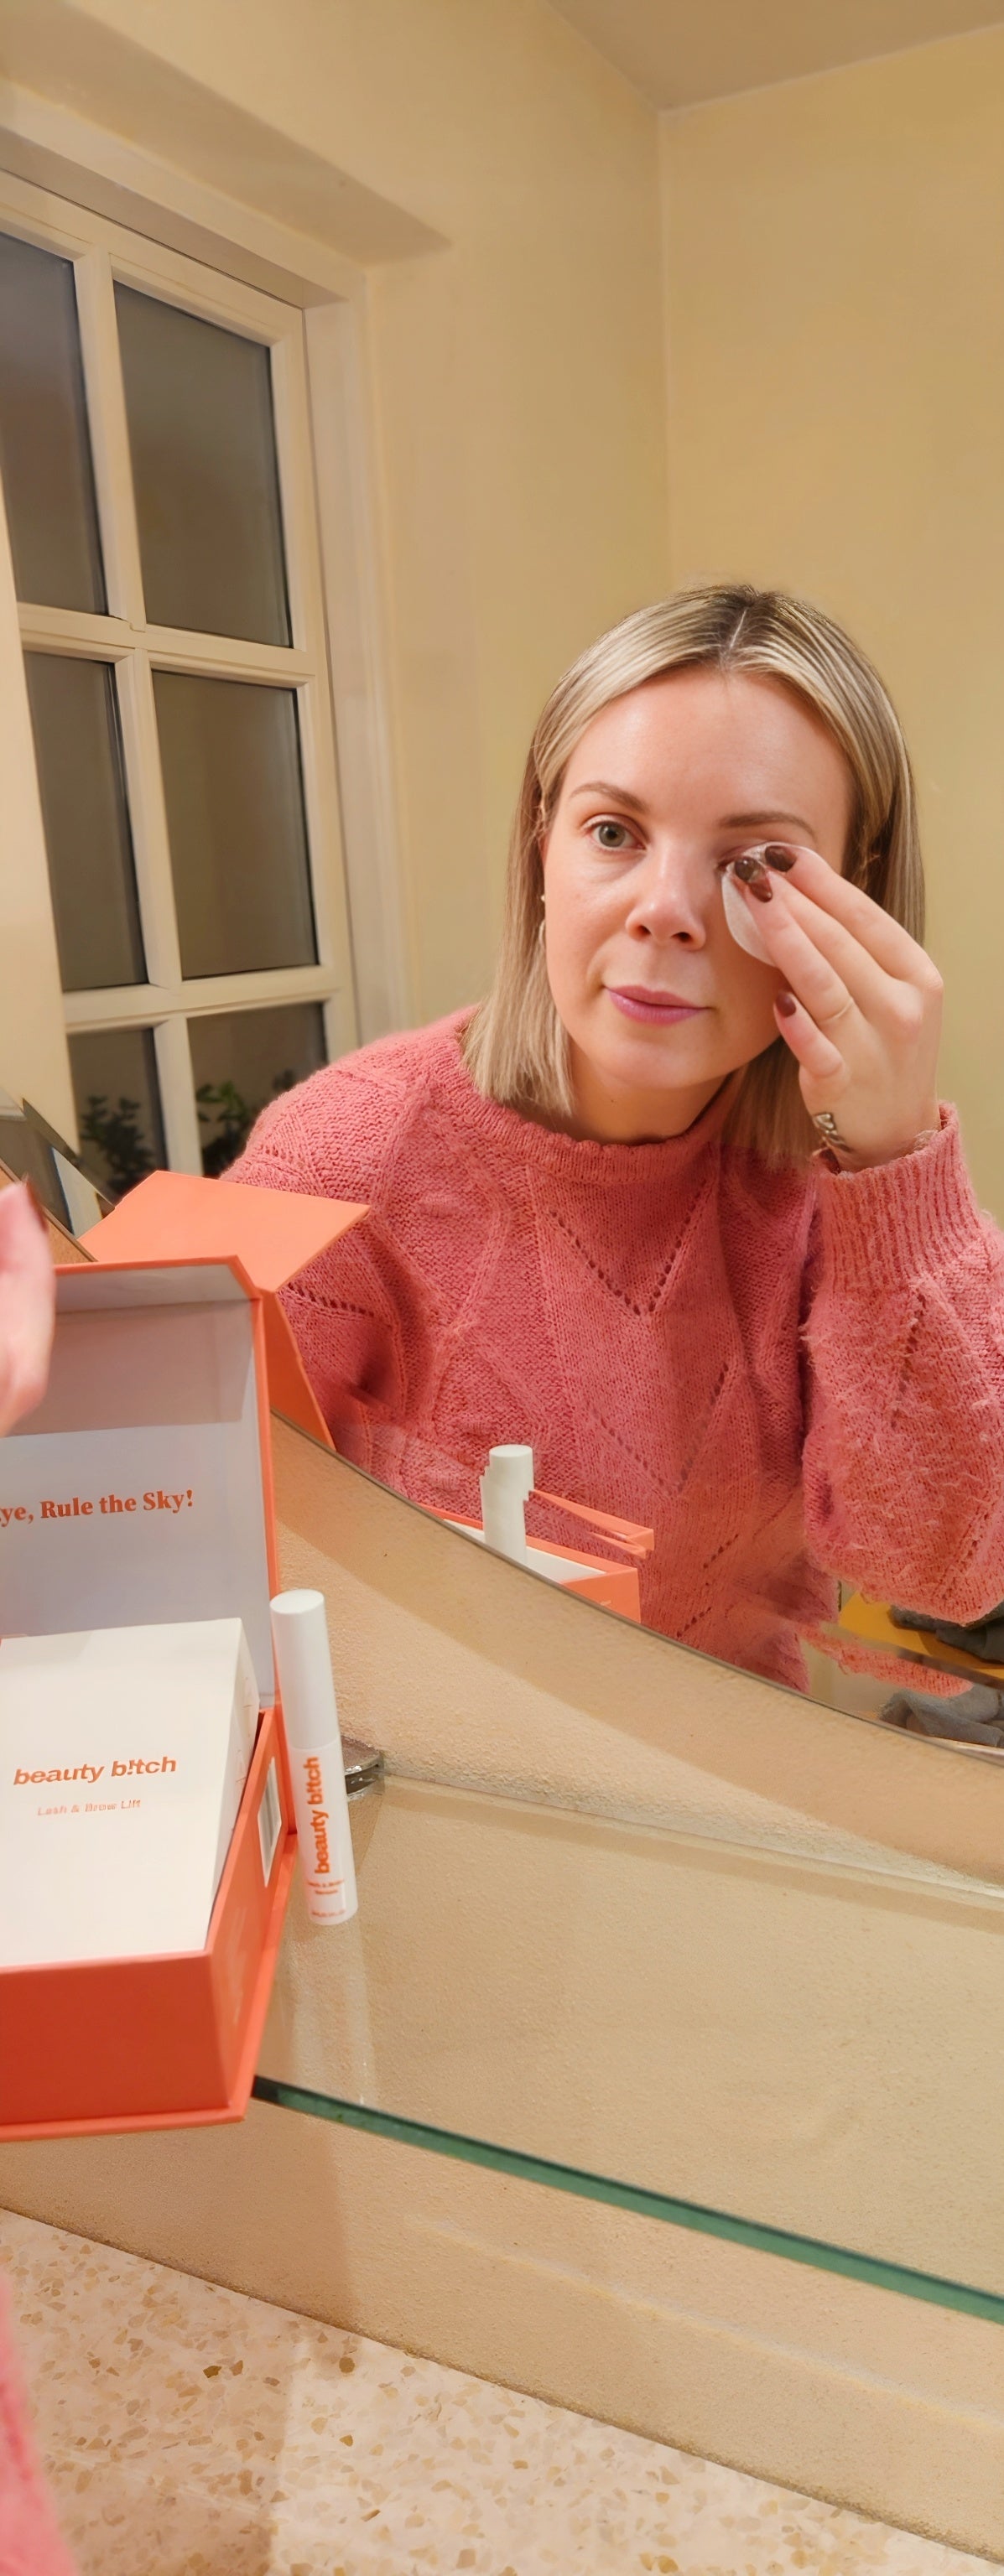
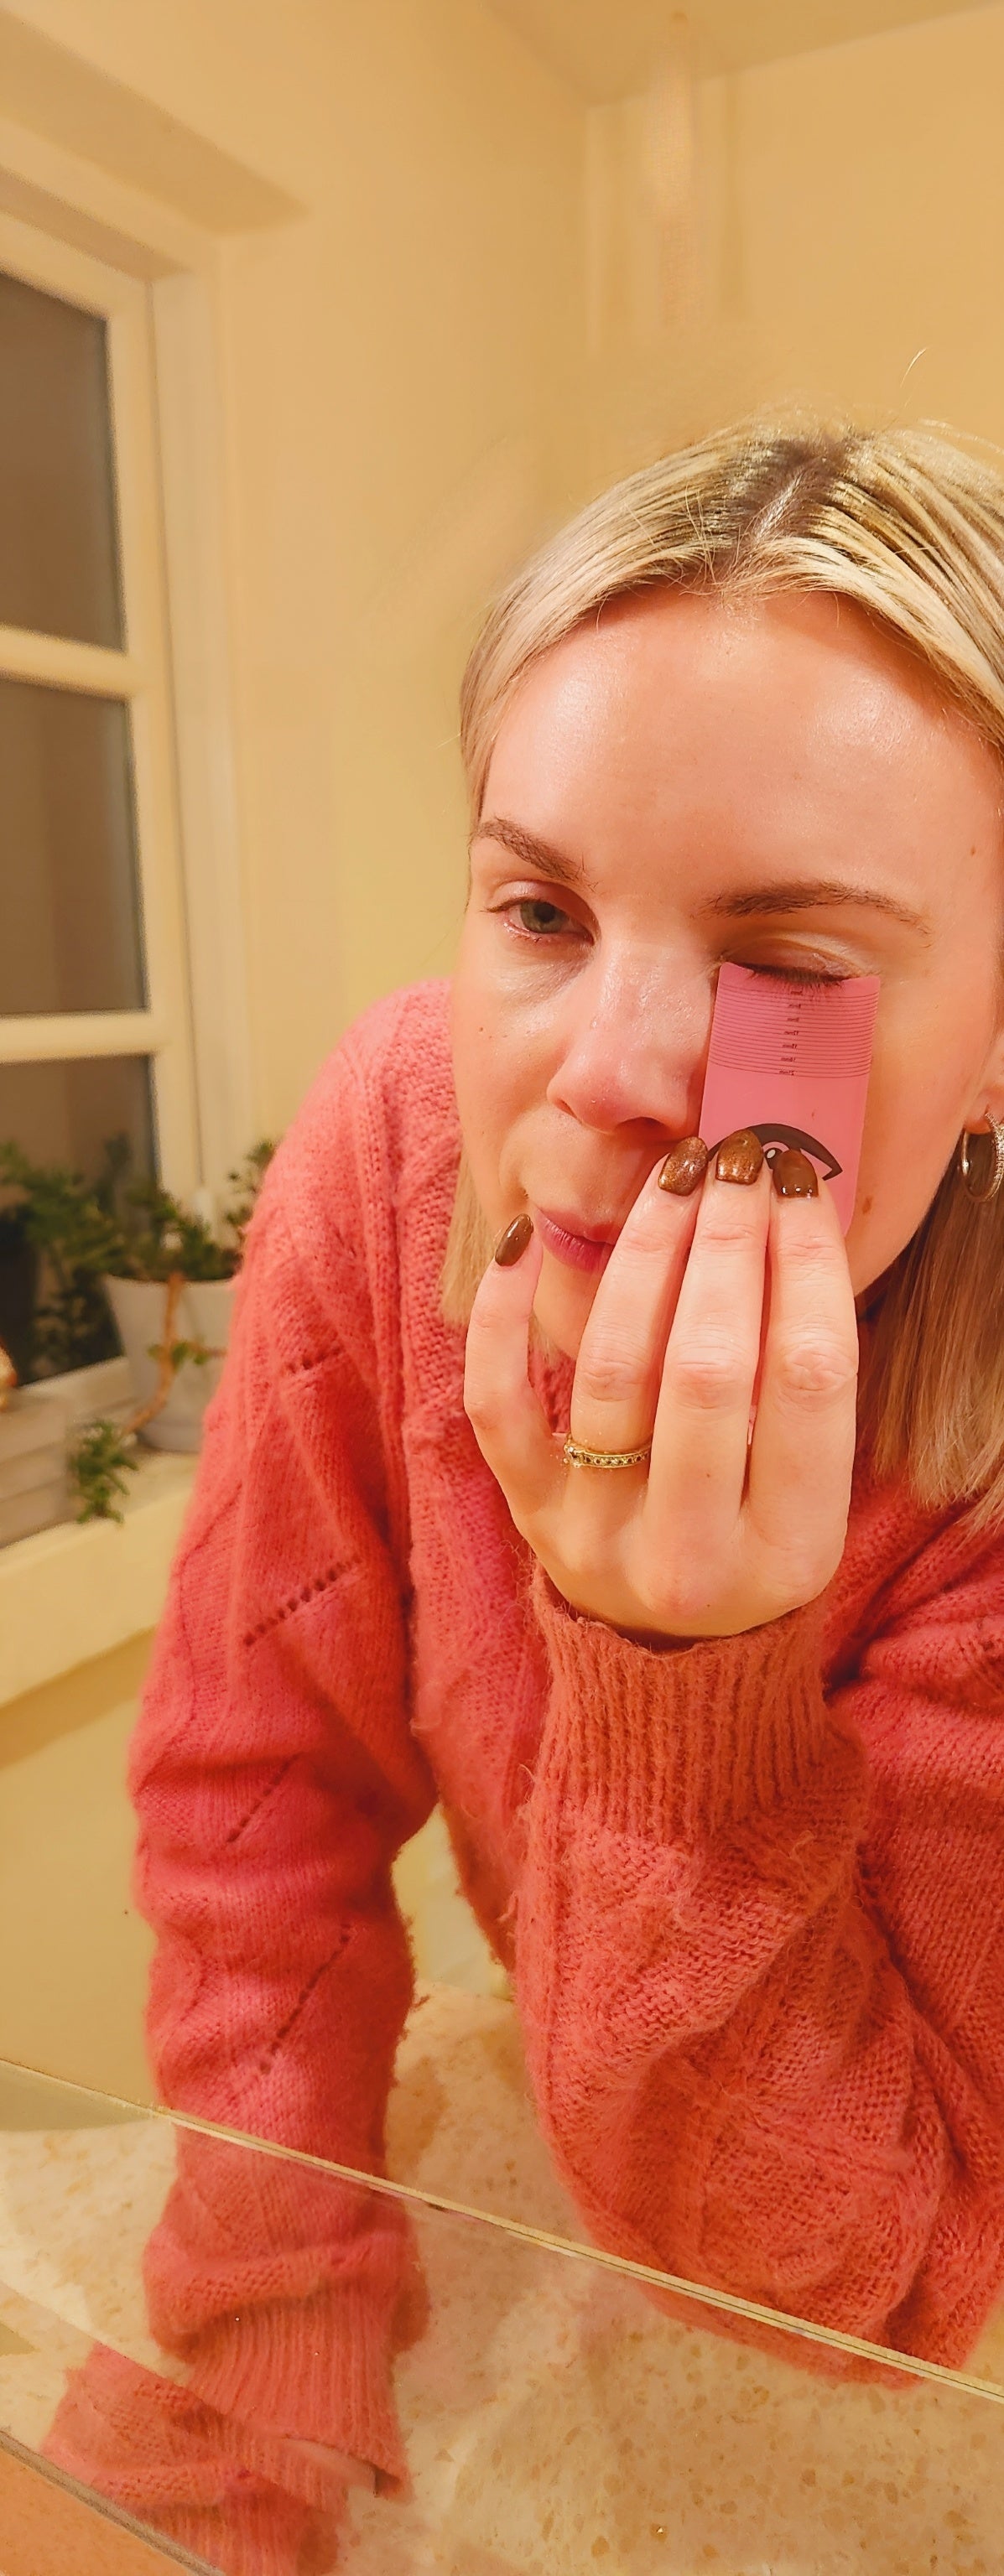
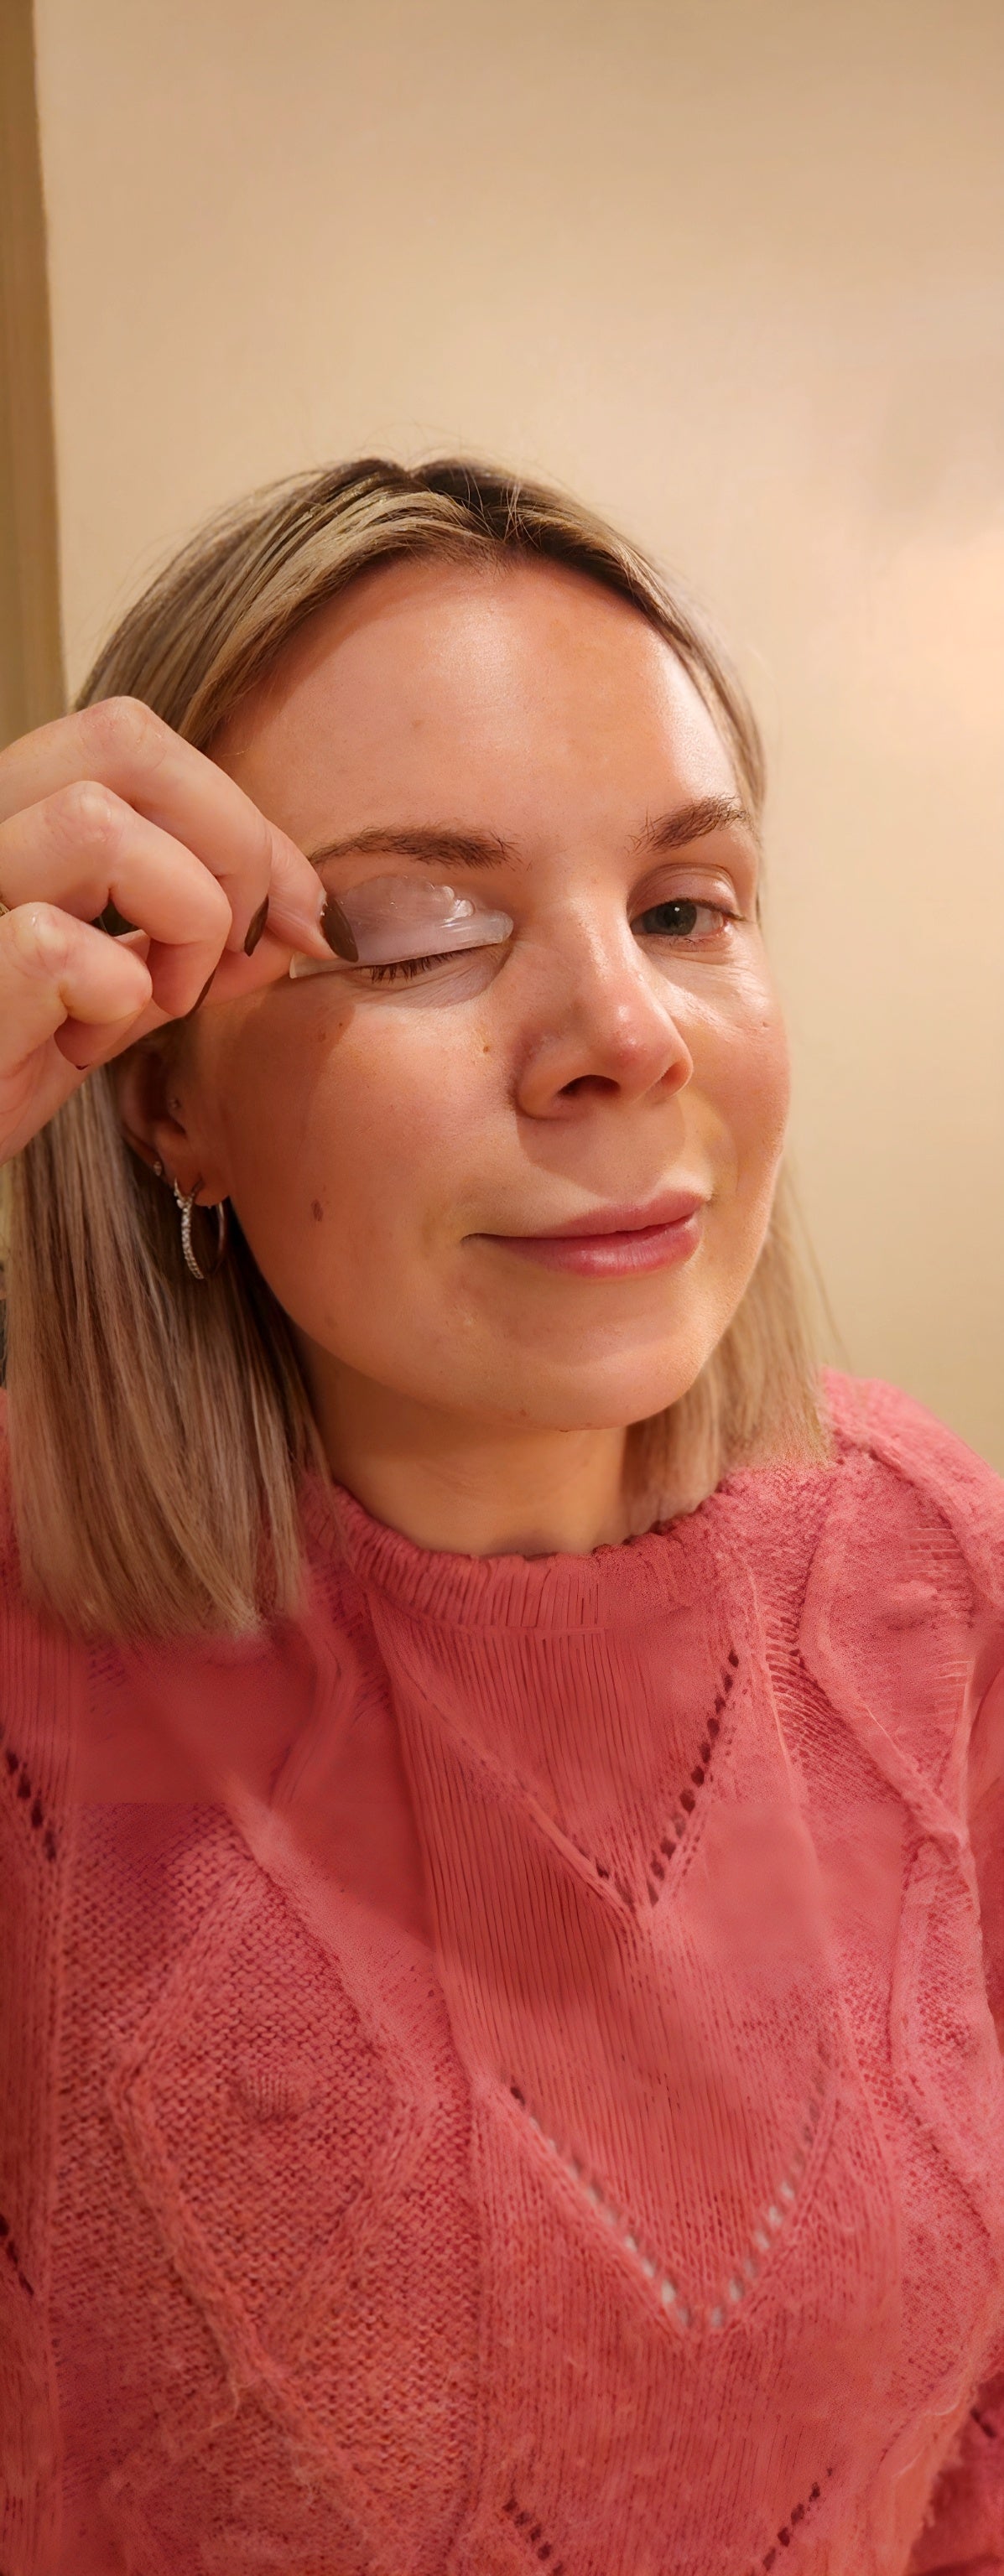
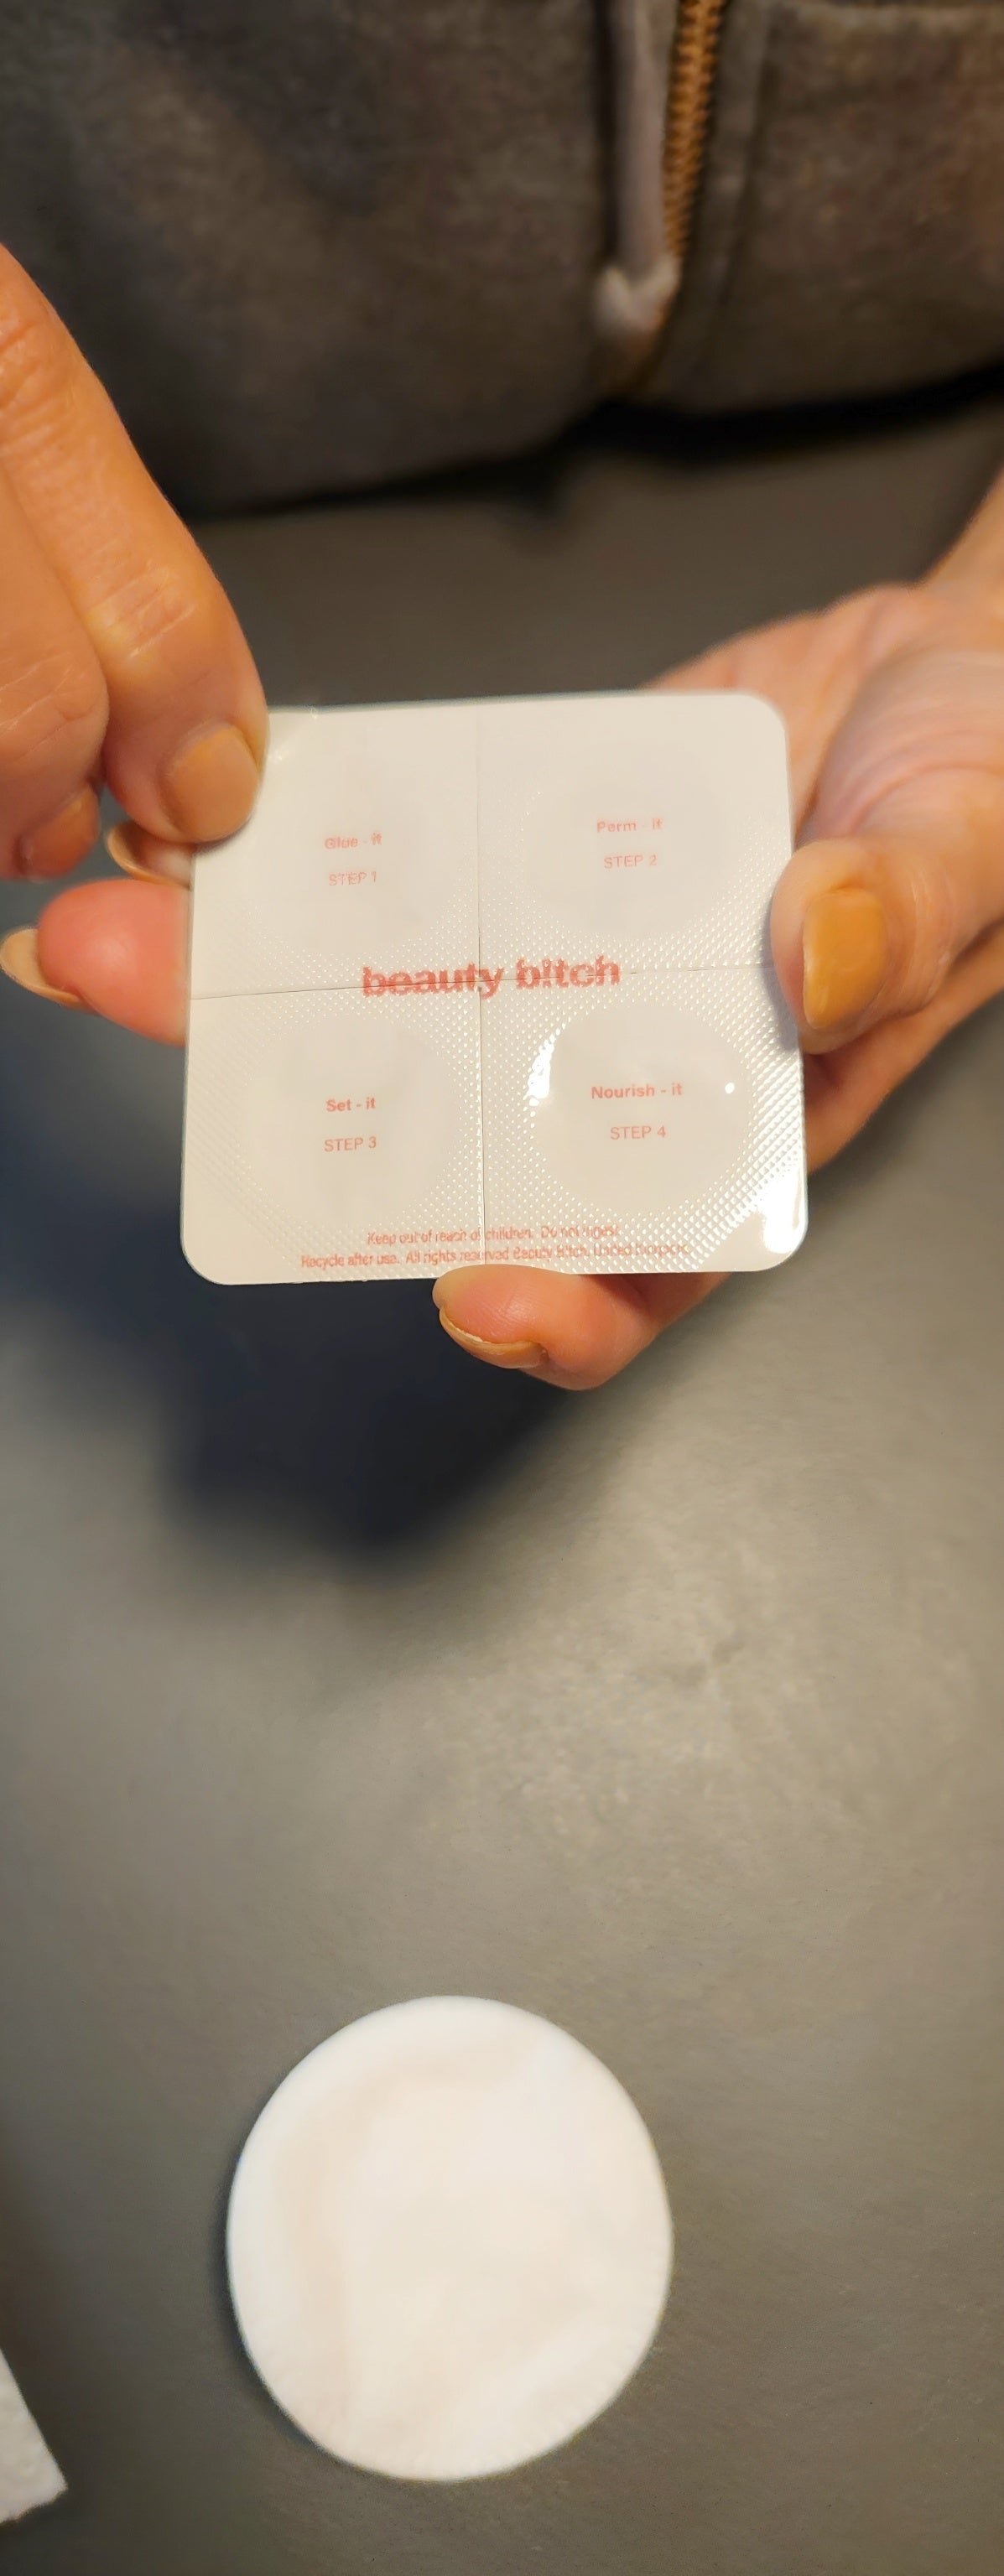
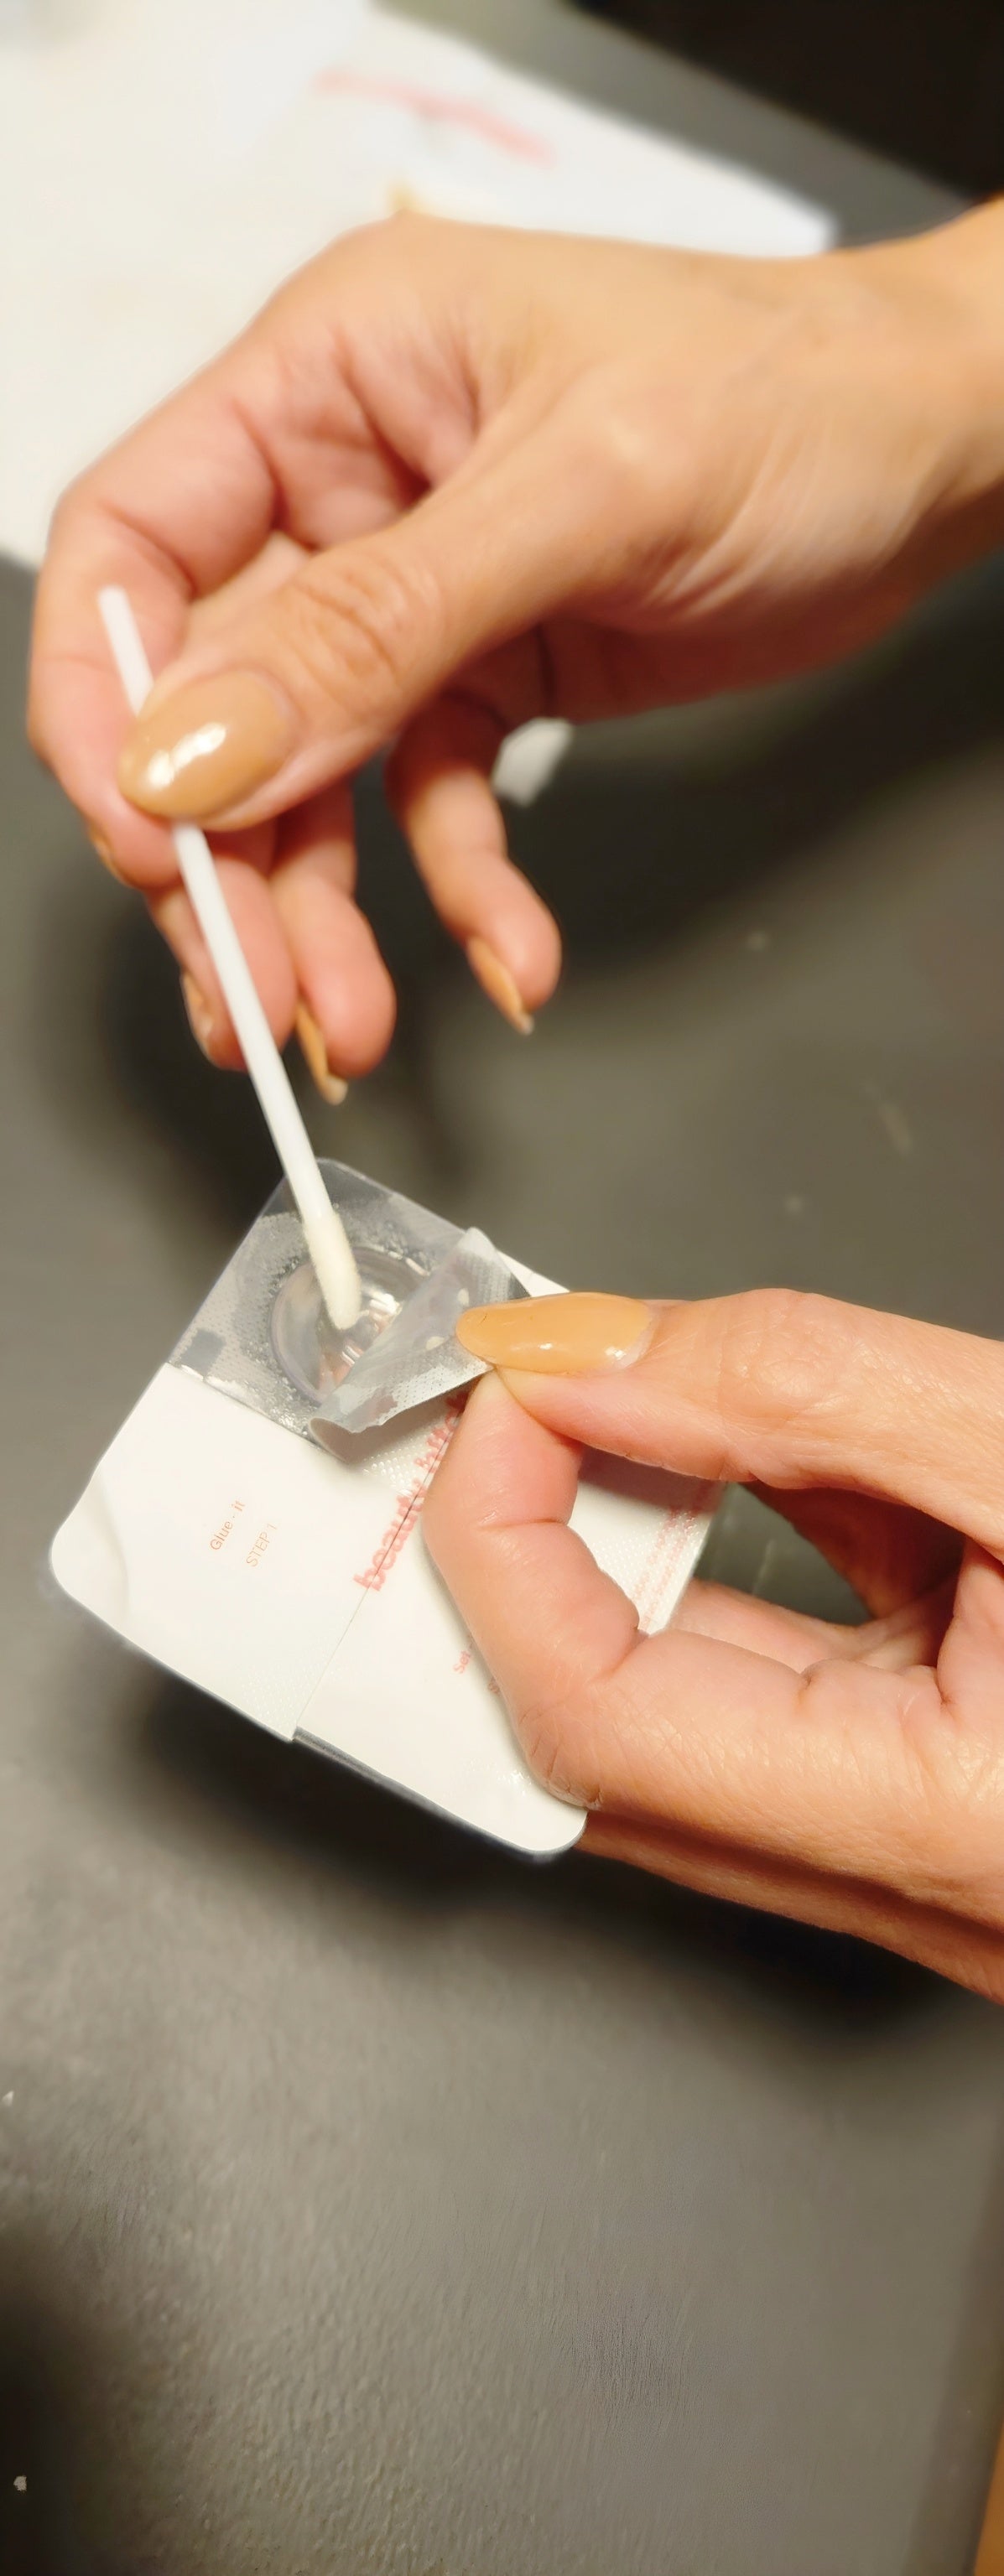
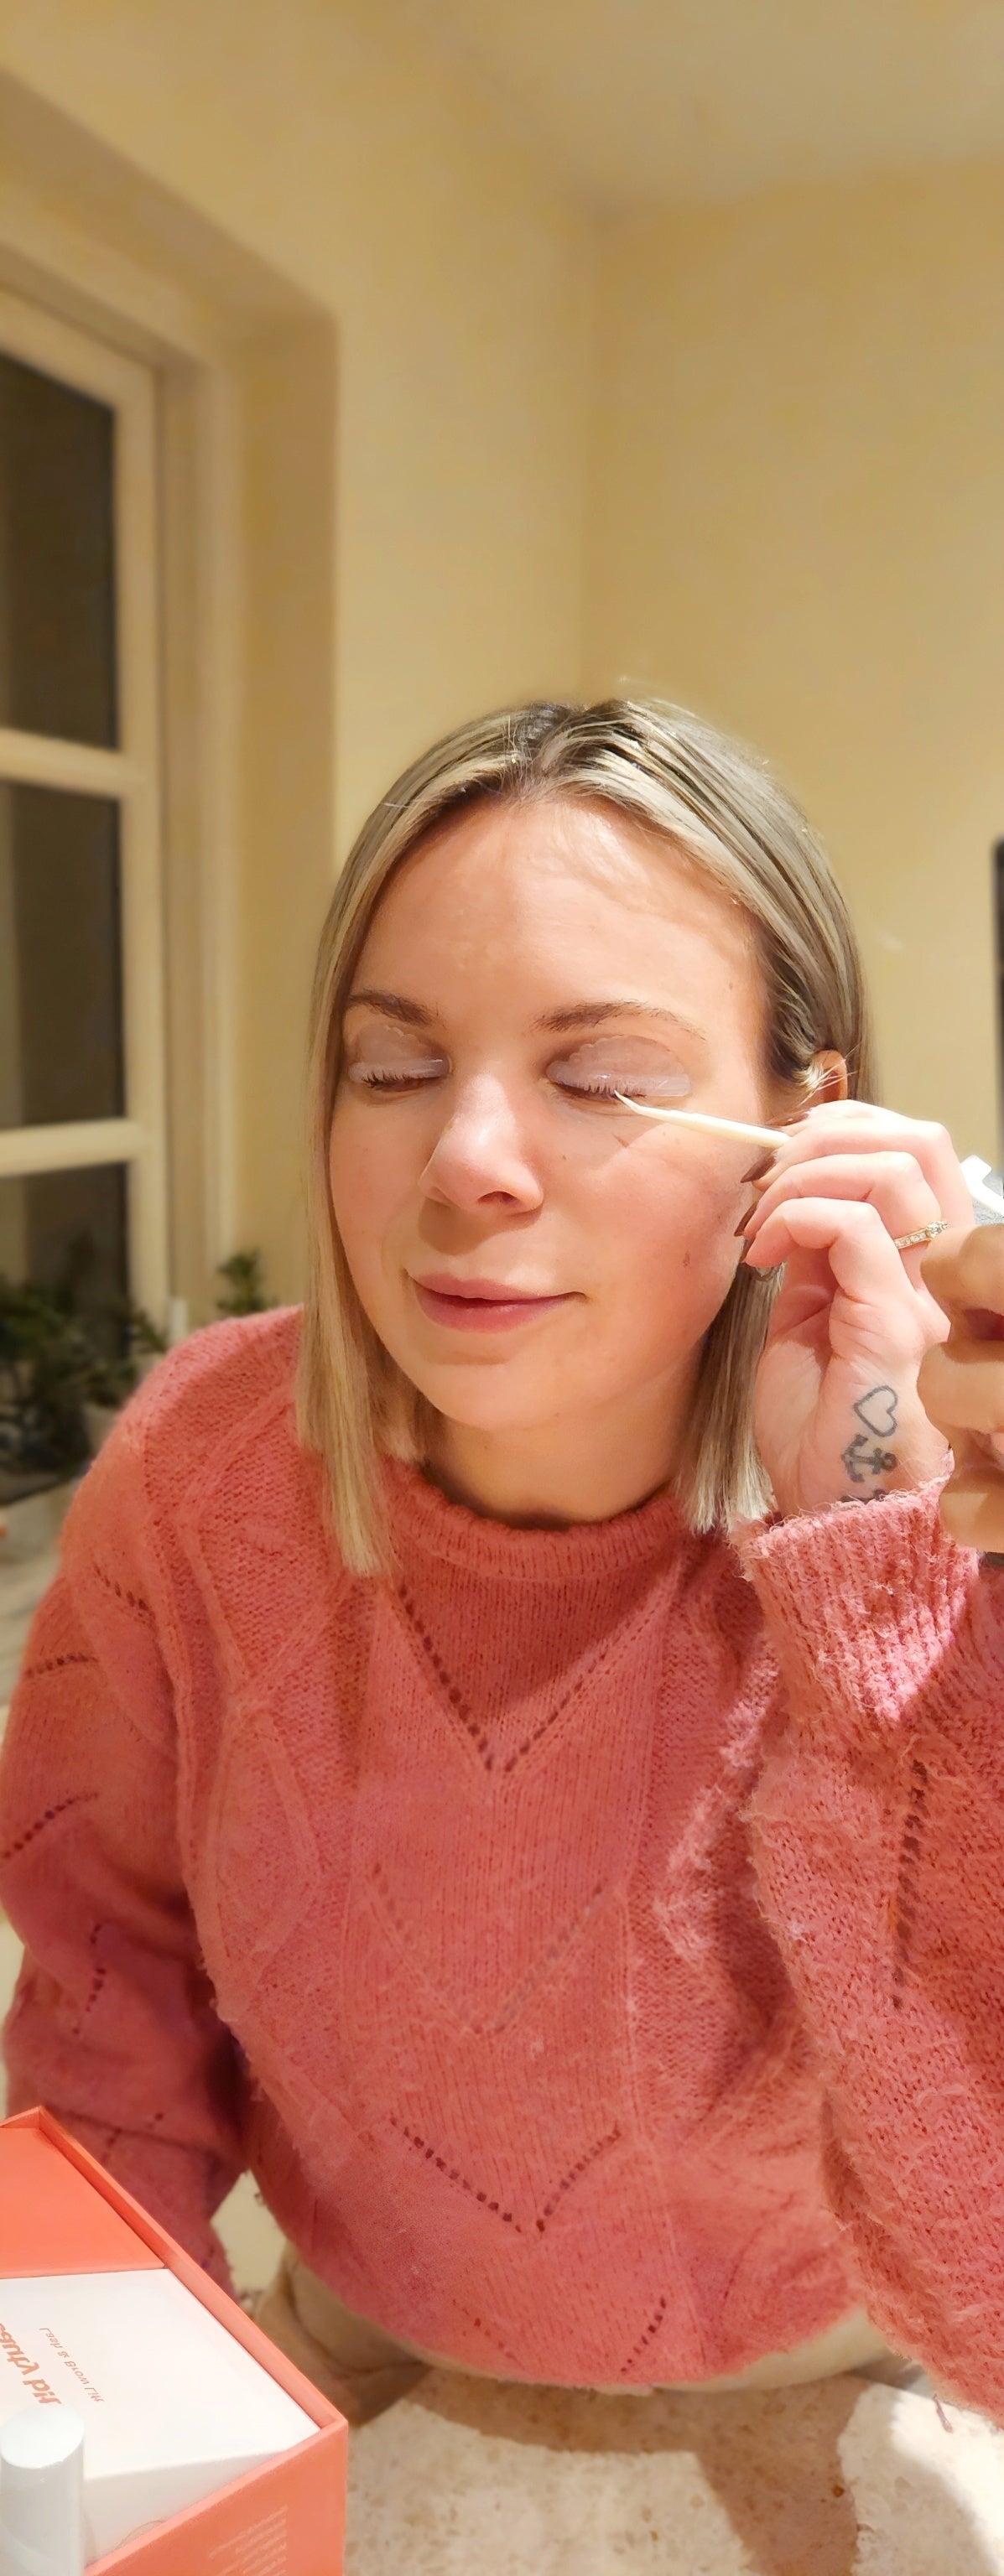
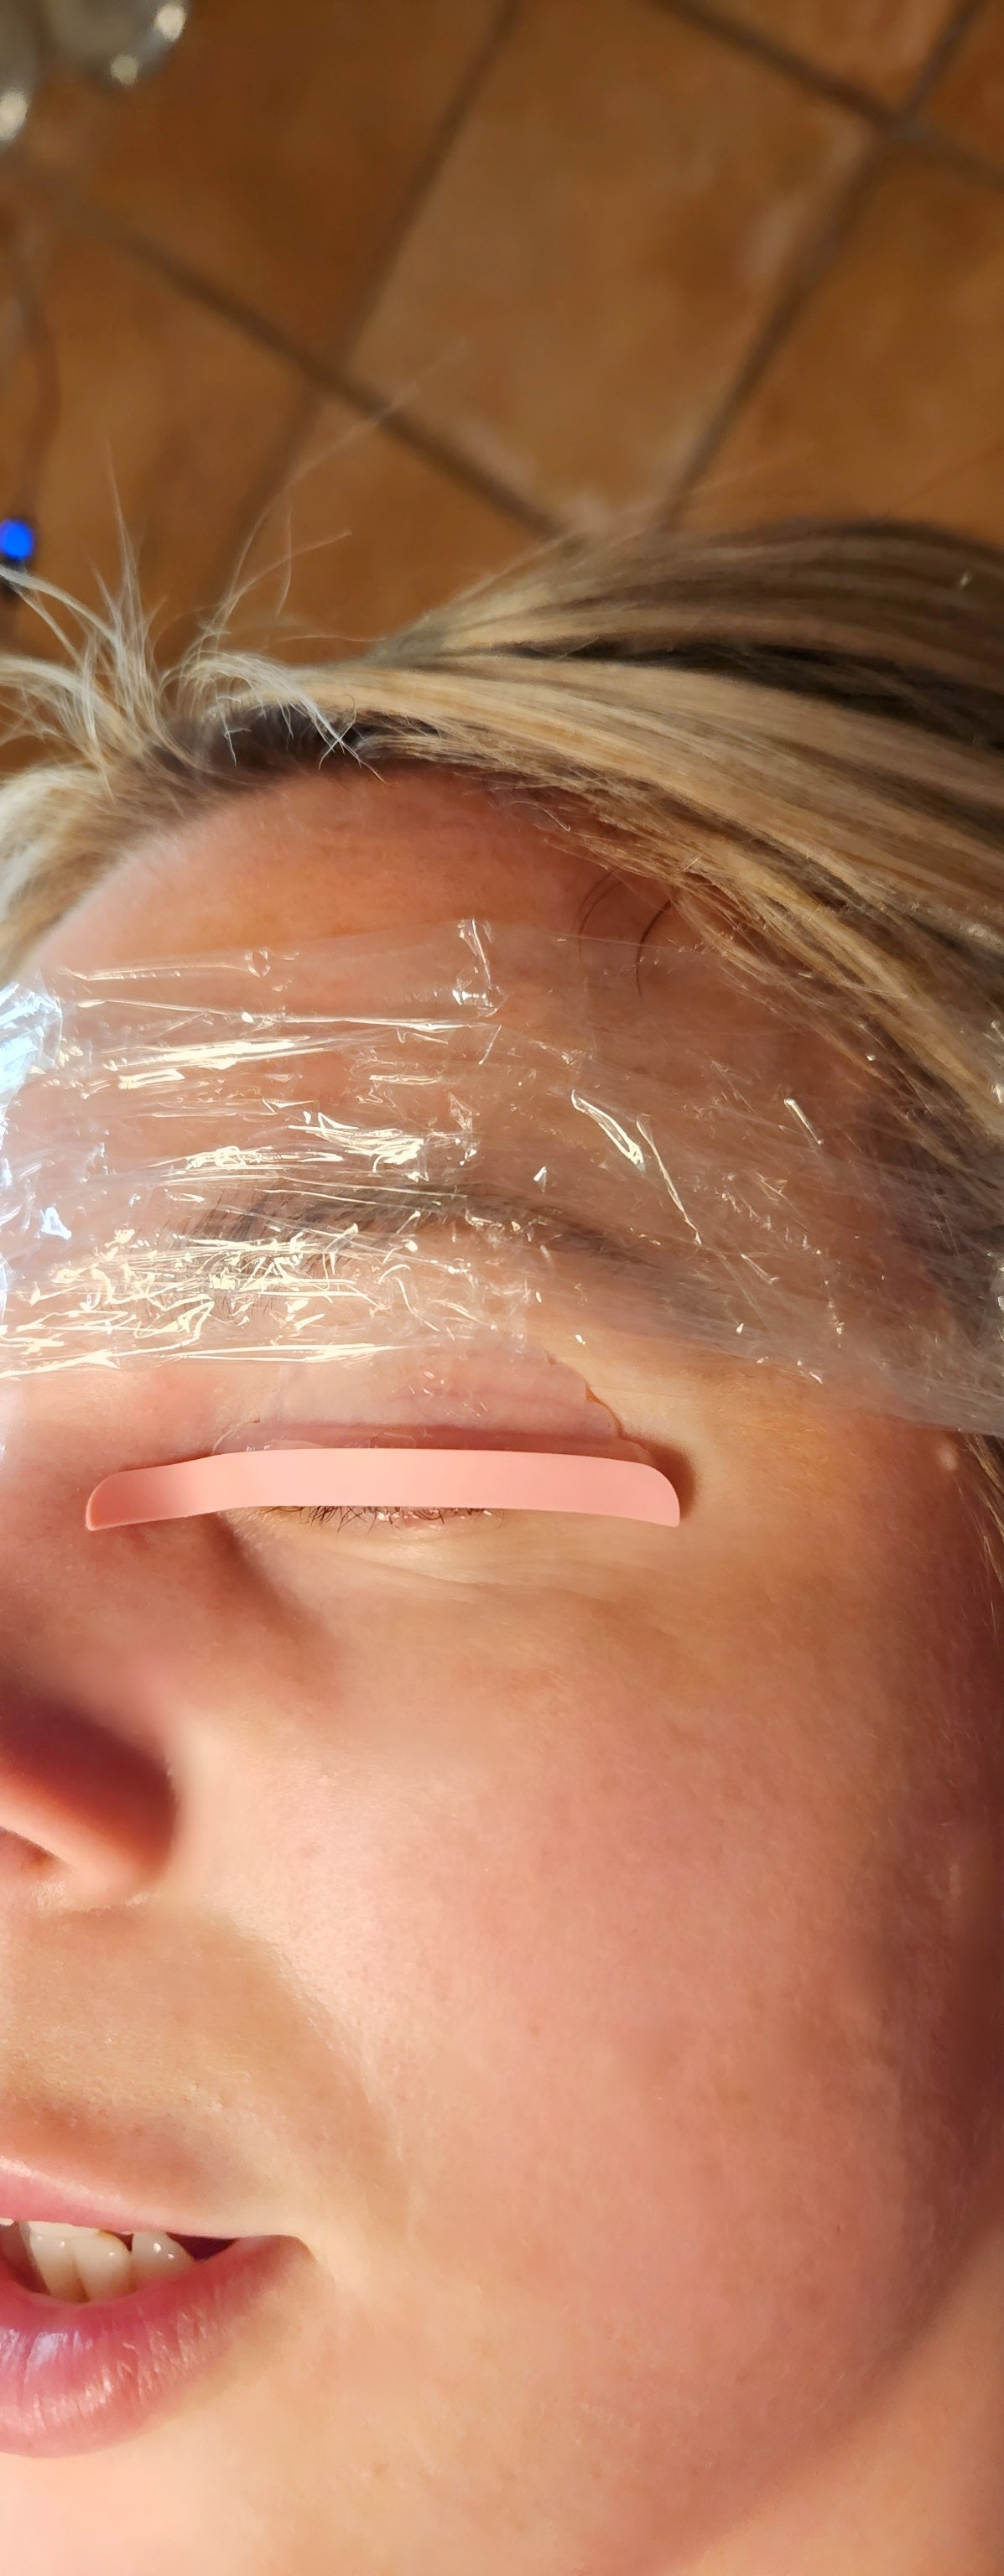
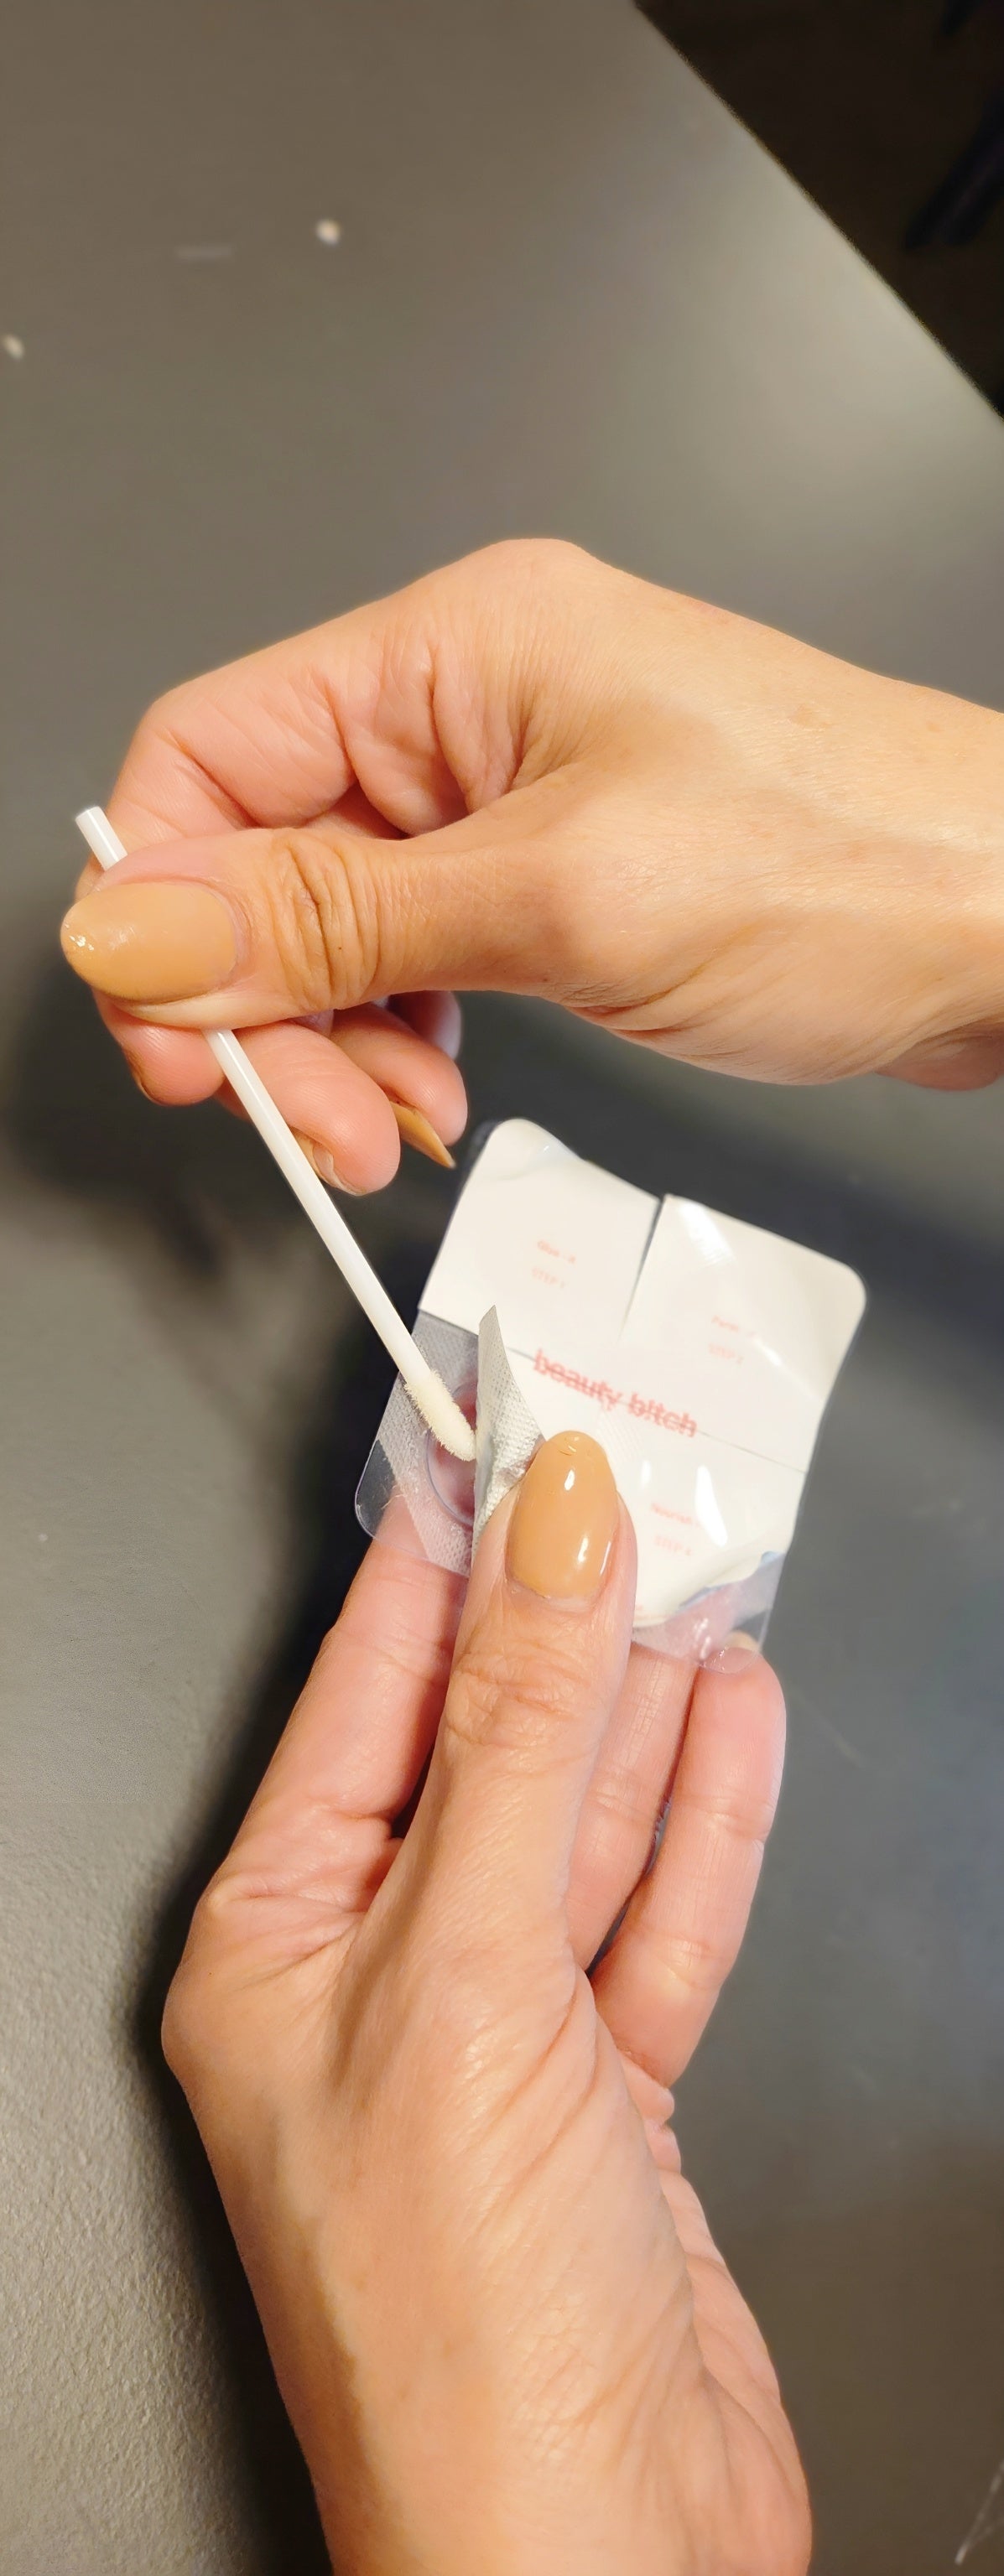
Get your workspace ready, babe. Glab that lash kit and let's kick things off - Oh, and don't forget the all-important pre-selfie to show off where we're starting
Column 1
Get your workspace ready, babe. Glab that lash kit and let's kick things off - Oh, and don't forget the all-important pre-selfie to show off where we're starting
Column 1
Get your workspace ready, babe. Glab that lash kit and let's kick things off - Oh, and don't forget the all-important pre-selfie to show off where we're starting
Column 1
Get your workspace ready, babe. Glab that lash kit and let's kick things off - Oh, and don't forget the all-important pre-selfie to show off where we're starting
Column 1
Get your workspace ready, babe. Glab that lash kit and let's kick things off - Oh, and don't forget the all-important pre-selfie to show off where we're starting
Column 1
Get your workspace ready, babe. Glab that lash kit and let's kick things off - Oh, and don't forget the all-important pre-selfie to show off where we're starting
Column 1
Get your workspace ready, babe. Glab that lash kit and let's kick things off - Oh, and don't forget the all-important pre-selfie to show off where we're starting
Column 1
Get your workspace ready, babe. Glab that lash kit and let's kick things off - Oh, and don't forget the all-important pre-selfie to show off where we're starting
Column 1
Get your workspace ready, babe. Glab that lash kit and let's kick things off - Oh, and don't forget the all-important pre-selfie to show off where we're starting
Column 1
Get your workspace ready, babe. Glab that lash kit and let's kick things off - Oh, and don't forget the all-important pre-selfie to show off where we're starting
Column 1
Get your workspace ready, babe. Glab that lash kit and let's kick things off - Oh, and don't forget the all-important pre-selfie to show off where we're starting
Column 1
Get your workspace ready, babe. Glab that lash kit and let's kick things off - Oh, and don't forget the all-important pre-selfie to show off where we're starting
Column 1
Get your workspace ready, babe. Glab that lash kit and let's kick things off - Oh, and don't forget the all-important pre-selfie to show off where we're starting
Subheading
Talk about your brand
Use this text to share information about your brand with your customers. Describe a product, share announcements, or welcome customers to your store.