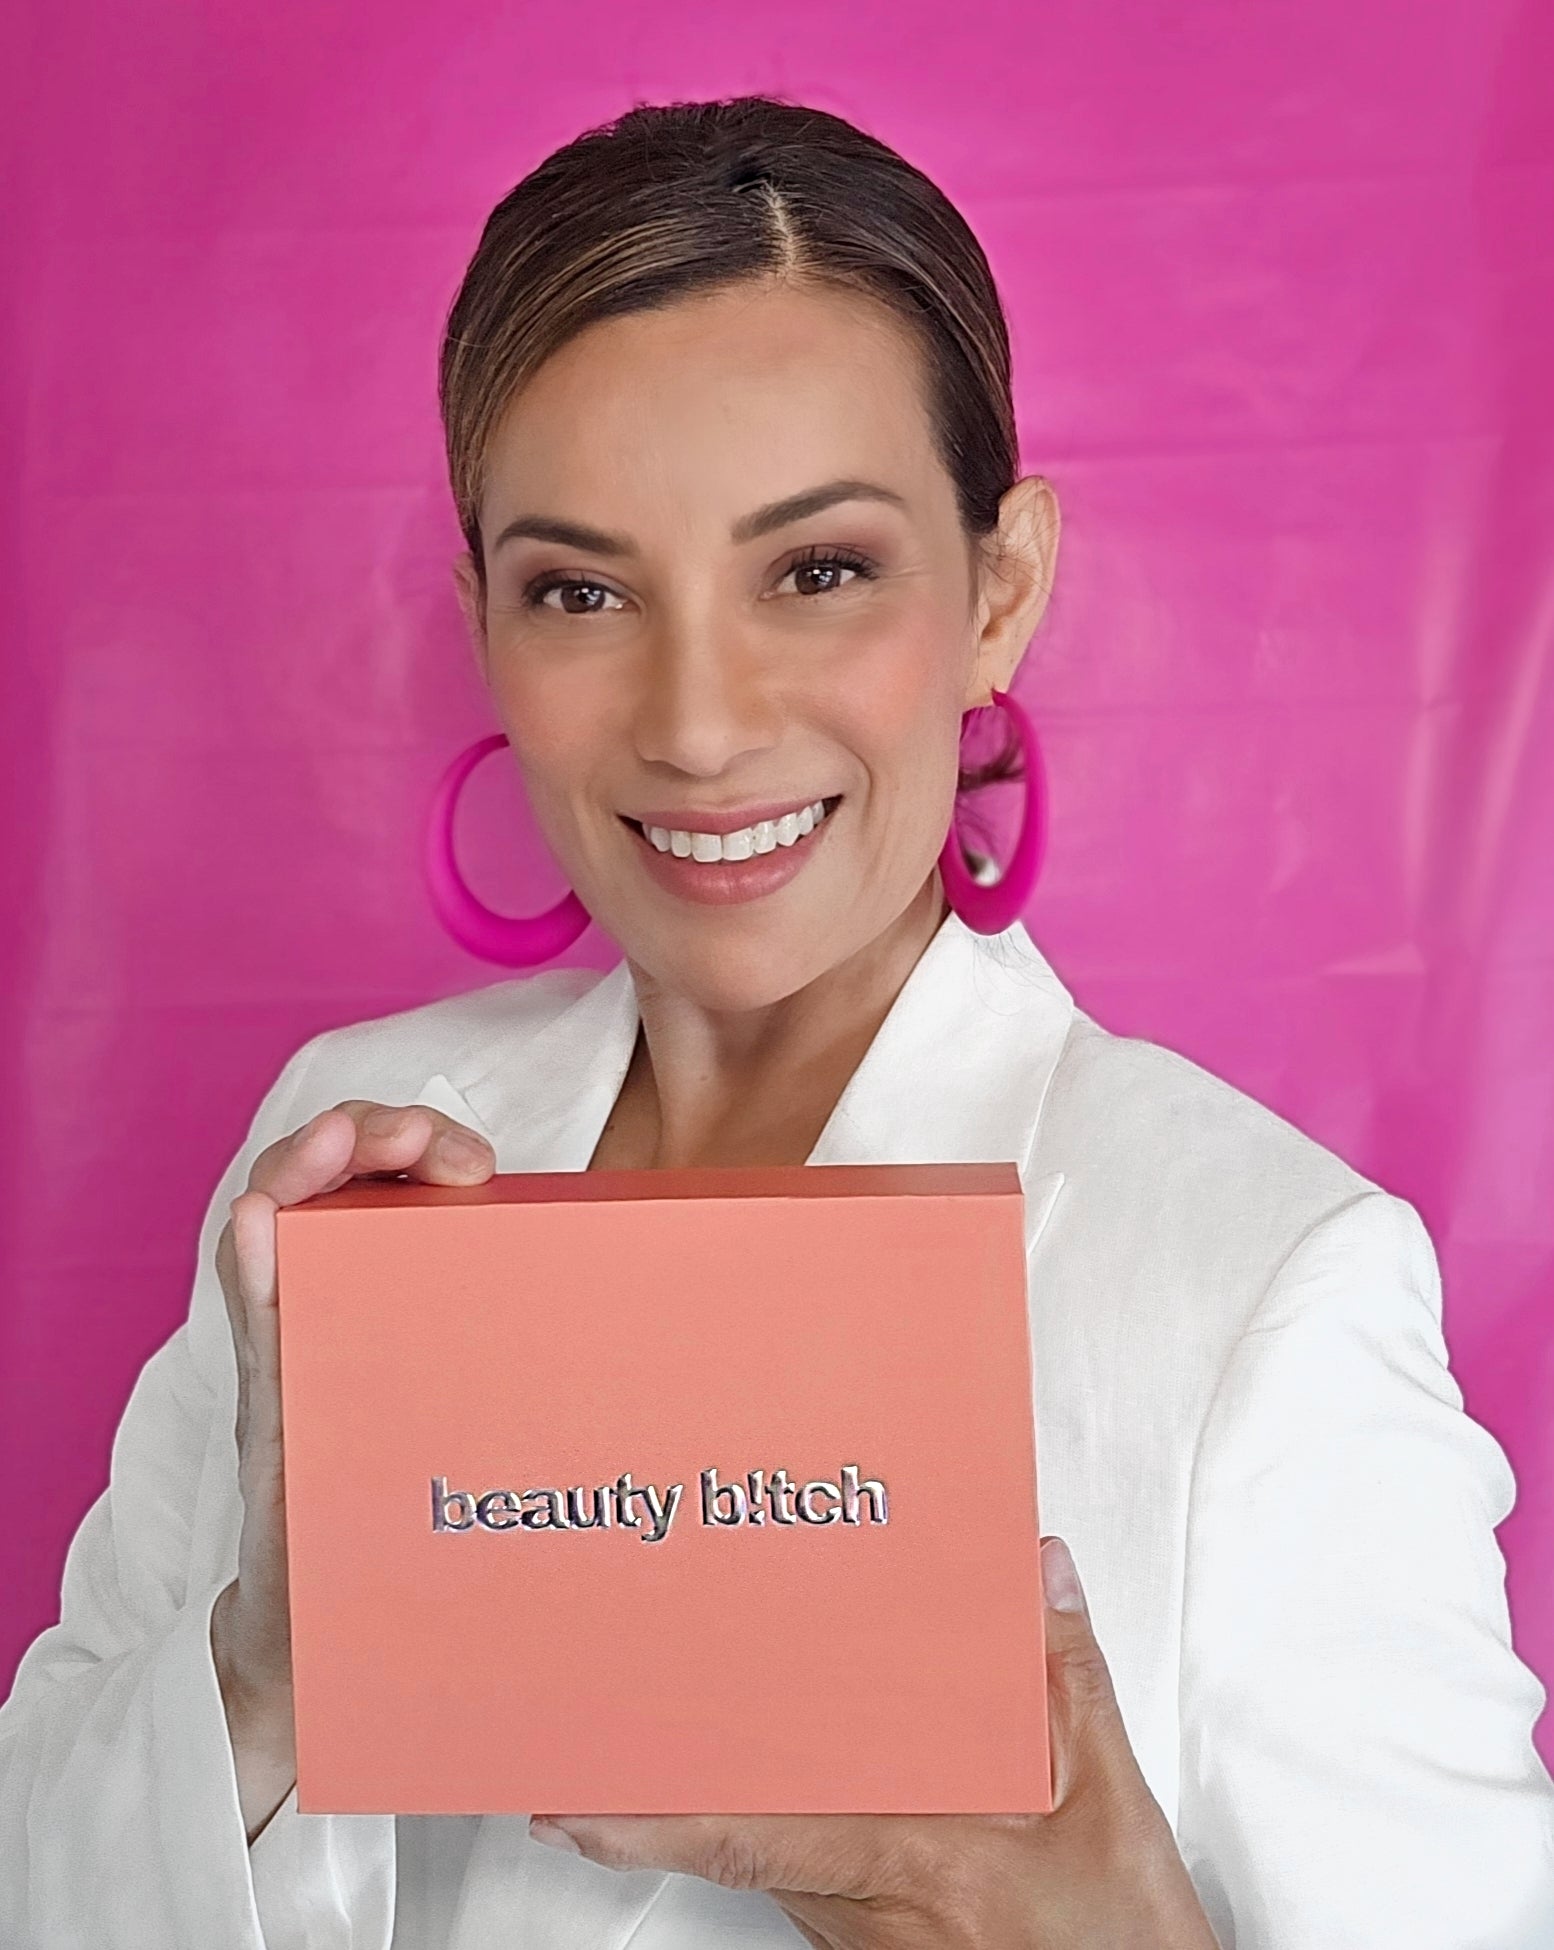
Kit de tinte para cejas
 100% Airtight and disposable one-off packaging for hygienic, safe and longer lasting products.
 Each box contains up to 6 treatments for black and 6 treatments for brown tint for lashes and brows
 Brows on your terms
 Ditch the salon. Tint your brows in your PJs, Netflix-style.
 So easy, it’s genius
 If you can handle lip balm, you’ve got this. No rocket science here!
 Save money, look fab
 Stop overpaying. Spend your cash on something more fun—like shoes.
 Bold brows, bold you
 Get brows that slay. Warning: they may outshine everything else.
 Completely vegan, non-toxic & cruelty-free formula
 30-day money-back guarantee.
 Your satisfaction is our promise!
100% Natural•Cruelty-Free•Test for 30 days
Why DIY your lash tint? Because, darling, who needs a salon when you’ve got the skills—and the sass—to do it yourself?
DIY lash tinting gives you gorgeous, dark lashes that last for weeks, minus the daily mascara battle or the appointment stress.
It’s budget-friendly, time-saving, and waterproof, so you can cry, swim, or sweat without a second thought. Plus, no more clumpy mascara ruining your vibe. It’s like waking up with your lashes already on fleek, and honestly, who wouldn’t want that?
Tinting your lashes at home? Babe, it’s like mascara without the drama.
Here’s our top 6 reasons why it’s a must:
Goodbye, panda eyes
No more raccoon eyes after a sweaty gym session or accidental nap. Tint it, and forget it.
Roll out of bed with dark, fluttery lashes that look like you actually tried. Spoiler: you didn’t.
Swimming? Crying over that rom-com? Your lashes stay flawless—zero smudges, zero effort.
Ditch the clumpy tubes for lashes that look naturally long and luscious. No more spider-leg situations.
Skip the mascara step entirely and still look wide-eyed. That extra five minutes of beauty sleep? Priceless.
Salon prices? Nah. Do it yourself, look fab, and spend that extra cash on iced lattes or, you know, more lashes.
Tinted lashes = instant glam with zero upkeep. You'll wonder why you ever bothered with mascara!
How to Tint Your Lashes Like a Total Boss!
Before You Start: Prep for Perfection
- Patch Test, Babe!
Mix your colours, quick dab on a plaster behind your ear or on your arm 48 hours before. No drama? You’re ready to slay! - Clean Hands, Always
You’re about to handle your lashes, so wash up like you’re scrubbing into surgery—fabulous surgery, of course. - Ditch the Makeup
Say bye to mascara, oils, or anything else clinging to your lashes. Clean slate, clean tint! - Snap That “Before” Selfie
Get those au naturel lashes on camera—you’ll want the receipts for your glow-up.
Let’s Tint Those Lashes
- Protect the Goods
Slap some petroleum jelly around your lids to keep the dye where it belongs—on your lashes, not your face. - Mix the Magic
Blend your tint and developer like a pro chemist. Smooth and ready to serve those lashes! Black for lashes, brown for eyebrows. - Paint Those Babies
Using a spoolie or applicator, coat every lash from root to tip. Precision is key—your lashes deserve it! - Sit Pretty
Let the tint work its magic for 10 minutes making sure to keep your eyes closed at all times. Chill and relax. - Rinse Gently
Use a damp cotton pad or cloth to wipe off the tint. No harsh rubbing—your lashes are royalty now.
Aftercare Glow-Up Tips
- Wash Those Hands (Again)
Your work here is done, but hygiene is still queen. - Snap That “After” Selfie
Show off those luscious, tinted lashes and get ready for the compliments to roll in. - Keep ‘Em Dry for 24 Hours
No water, no oil, no rubbing—let the tint settle like the diva it is. - Be Gentle
Treat your lashes with love—no tugging, pulling, or harsh cleansers.
Now go rock those dark, dramatic lashes, and get ready to bat them like the flirt you are!
When to Skip the Lash Tint, Babe:
- Sensitive Eyes? – If your eyes tear up over a strong breeze, this might not be your thing.
- Allergies Galore – Known to react to dyes or products? Patch test first or sit this one out!
- Eye Infections – Pink eye or any redness? Heal it up before you glam it up.
- Recent Eye Surgeries – Lasers, lifts, or anything in between? Let those peepers recover first.
- Skin Conditions Around Eyes – If your lids are flaking, itching, or inflamed, hit pause.
- Contact Lens Drama – Take those lenses out, or your tint session might turn into a teary situation.
- Pregnant or Nursing? – Hormones can be tricky; results might not stick, so proceed with care.
When in doubt, play it safe. Healthy lashes are happy lashes!
Ingredient List
- Aqua (Water): The OG hydrator—keeps everything smooth and blendable.
- Cetearyl Alcohol: A creamy BFF that softens and smooths.
- Polyoxyethylene Lauryl Ether: The mix-master—helps oil and water play nice.
- Polyquaternium-63: Your anti-frizz fairy for shiny, manageable hair.
- Glycerol (Glycerin): The moisture magnet—keeps things soft and hydrated.
- p-Phenylenediamine (PPD): The color queen in hair dyes for bold, lasting hues.
- Ethanolamine: Balances pH like a pro to keep things working perfectly.
- Ammonium Hydroxide: Activates hair dye magic for flawless results.
- Glycerine Monostearate: The texture expert—smooth and stable vibes only.
- Ammonium Bicarbonate: Keeps the product steady and balanced.
- Sodium Sulfite: The defender—protects against spoilage and oxidation.
- Coconut Oil: The ultimate nourisher—soft, shiny, and oh-so-lovely.
Together, they’re like the glam squad your hair or skin deserves!
Elegir opciones
 100% Airtight and disposable one-off packaging for hygienic, safe and longer lasting products.
 Each box contains up to 6 treatments for black and 6 treatments for brown tint for lashes and brows
 Brows on your terms
 Ditch the salon. Tint your brows in your PJs, Netflix-style.
 So easy, it’s genius
 If you can handle lip balm, you’ve got this. No rocket science here!
 Save money, look fab
 Stop overpaying. Spend your cash on something more fun—like shoes.
 Bold brows, bold you
 Get brows that slay. Warning: they may outshine everything else.
 Completely vegan, non-toxic & cruelty-free formula
 30-day money-back guarantee.
 Your satisfaction is our promise!
100% Natural•Cruelty-Free•Test for 30 days
Why DIY your lash tint? Because, darling, who needs a salon when you’ve got the skills—and the sass—to do it yourself?
DIY lash tinting gives you gorgeous, dark lashes that last for weeks, minus the daily mascara battle or the appointment stress.
It’s budget-friendly, time-saving, and waterproof, so you can cry, swim, or sweat without a second thought. Plus, no more clumpy mascara ruining your vibe. It’s like waking up with your lashes already on fleek, and honestly, who wouldn’t want that?
Tinting your lashes at home? Babe, it’s like mascara without the drama.
Here’s our top 6 reasons why it’s a must:
Goodbye, panda eyes
No more raccoon eyes after a sweaty gym session or accidental nap. Tint it, and forget it.
Roll out of bed with dark, fluttery lashes that look like you actually tried. Spoiler: you didn’t.
Swimming? Crying over that rom-com? Your lashes stay flawless—zero smudges, zero effort.
Ditch the clumpy tubes for lashes that look naturally long and luscious. No more spider-leg situations.
Skip the mascara step entirely and still look wide-eyed. That extra five minutes of beauty sleep? Priceless.
Salon prices? Nah. Do it yourself, look fab, and spend that extra cash on iced lattes or, you know, more lashes.
Tinted lashes = instant glam with zero upkeep. You'll wonder why you ever bothered with mascara!
How to Tint Your Lashes Like a Total Boss!
Before You Start: Prep for Perfection
- Patch Test, Babe!
Mix your colours, quick dab on a plaster behind your ear or on your arm 48 hours before. No drama? You’re ready to slay! - Clean Hands, Always
You’re about to handle your lashes, so wash up like you’re scrubbing into surgery—fabulous surgery, of course. - Ditch the Makeup
Say bye to mascara, oils, or anything else clinging to your lashes. Clean slate, clean tint! - Snap That “Before” Selfie
Get those au naturel lashes on camera—you’ll want the receipts for your glow-up.
Let’s Tint Those Lashes
- Protect the Goods
Slap some petroleum jelly around your lids to keep the dye where it belongs—on your lashes, not your face. - Mix the Magic
Blend your tint and developer like a pro chemist. Smooth and ready to serve those lashes! Black for lashes, brown for eyebrows. - Paint Those Babies
Using a spoolie or applicator, coat every lash from root to tip. Precision is key—your lashes deserve it! - Sit Pretty
Let the tint work its magic for 10 minutes making sure to keep your eyes closed at all times. Chill and relax. - Rinse Gently
Use a damp cotton pad or cloth to wipe off the tint. No harsh rubbing—your lashes are royalty now.
Aftercare Glow-Up Tips
- Wash Those Hands (Again)
Your work here is done, but hygiene is still queen. - Snap That “After” Selfie
Show off those luscious, tinted lashes and get ready for the compliments to roll in. - Keep ‘Em Dry for 24 Hours
No water, no oil, no rubbing—let the tint settle like the diva it is. - Be Gentle
Treat your lashes with love—no tugging, pulling, or harsh cleansers.
Now go rock those dark, dramatic lashes, and get ready to bat them like the flirt you are!
When to Skip the Lash Tint, Babe:
- Sensitive Eyes? – If your eyes tear up over a strong breeze, this might not be your thing.
- Allergies Galore – Known to react to dyes or products? Patch test first or sit this one out!
- Eye Infections – Pink eye or any redness? Heal it up before you glam it up.
- Recent Eye Surgeries – Lasers, lifts, or anything in between? Let those peepers recover first.
- Skin Conditions Around Eyes – If your lids are flaking, itching, or inflamed, hit pause.
- Contact Lens Drama – Take those lenses out, or your tint session might turn into a teary situation.
- Pregnant or Nursing? – Hormones can be tricky; results might not stick, so proceed with care.
When in doubt, play it safe. Healthy lashes are happy lashes!
Ingredient List
- Aqua (Water): The OG hydrator—keeps everything smooth and blendable.
- Cetearyl Alcohol: A creamy BFF that softens and smooths.
- Polyoxyethylene Lauryl Ether: The mix-master—helps oil and water play nice.
- Polyquaternium-63: Your anti-frizz fairy for shiny, manageable hair.
- Glycerol (Glycerin): The moisture magnet—keeps things soft and hydrated.
- p-Phenylenediamine (PPD): The color queen in hair dyes for bold, lasting hues.
- Ethanolamine: Balances pH like a pro to keep things working perfectly.
- Ammonium Hydroxide: Activates hair dye magic for flawless results.
- Glycerine Monostearate: The texture expert—smooth and stable vibes only.
- Ammonium Bicarbonate: Keeps the product steady and balanced.
- Sodium Sulfite: The defender—protects against spoilage and oxidation.
- Coconut Oil: The ultimate nourisher—soft, shiny, and oh-so-lovely.
Together, they’re like the glam squad your hair or skin deserves!
 100% Airtight and disposable one-off packaging for hygienic, safe and longer lasting products.
 Each box contains up to 6 treatments for black and 6 treatments for brown tint for lashes and brows
 Brows on your terms
 Ditch the salon. Tint your brows in your PJs, Netflix-style.
 So easy, it’s genius
 If you can handle lip balm, you’ve got this. No rocket science here!
 Save money, look fab
 Stop overpaying. Spend your cash on something more fun—like shoes.
 Bold brows, bold you
 Get brows that slay. Warning: they may outshine everything else.
 Completely vegan, non-toxic & cruelty-free formula
 30-day money-back guarantee.
 Your satisfaction is our promise!
100% Natural•Cruelty-Free•Test for 30 days
Why DIY your lash tint? Because, darling, who needs a salon when you’ve got the skills—and the sass—to do it yourself?
DIY lash tinting gives you gorgeous, dark lashes that last for weeks, minus the daily mascara battle or the appointment stress.
It’s budget-friendly, time-saving, and waterproof, so you can cry, swim, or sweat without a second thought. Plus, no more clumpy mascara ruining your vibe. It’s like waking up with your lashes already on fleek, and honestly, who wouldn’t want that?
Tinting your lashes at home? Babe, it’s like mascara without the drama.
Here’s our top 6 reasons why it’s a must:
Goodbye, panda eyes
No more raccoon eyes after a sweaty gym session or accidental nap. Tint it, and forget it.
Roll out of bed with dark, fluttery lashes that look like you actually tried. Spoiler: you didn’t.
Swimming? Crying over that rom-com? Your lashes stay flawless—zero smudges, zero effort.
Ditch the clumpy tubes for lashes that look naturally long and luscious. No more spider-leg situations.
Skip the mascara step entirely and still look wide-eyed. That extra five minutes of beauty sleep? Priceless.
Salon prices? Nah. Do it yourself, look fab, and spend that extra cash on iced lattes or, you know, more lashes.
Tinted lashes = instant glam with zero upkeep. You'll wonder why you ever bothered with mascara!
How to Tint Your Lashes Like a Total Boss!
Before You Start: Prep for Perfection
- Patch Test, Babe!
Mix your colours, quick dab on a plaster behind your ear or on your arm 48 hours before. No drama? You’re ready to slay! - Clean Hands, Always
You’re about to handle your lashes, so wash up like you’re scrubbing into surgery—fabulous surgery, of course. - Ditch the Makeup
Say bye to mascara, oils, or anything else clinging to your lashes. Clean slate, clean tint! - Snap That “Before” Selfie
Get those au naturel lashes on camera—you’ll want the receipts for your glow-up.
Let’s Tint Those Lashes
- Protect the Goods
Slap some petroleum jelly around your lids to keep the dye where it belongs—on your lashes, not your face. - Mix the Magic
Blend your tint and developer like a pro chemist. Smooth and ready to serve those lashes! Black for lashes, brown for eyebrows. - Paint Those Babies
Using a spoolie or applicator, coat every lash from root to tip. Precision is key—your lashes deserve it! - Sit Pretty
Let the tint work its magic for 10 minutes making sure to keep your eyes closed at all times. Chill and relax. - Rinse Gently
Use a damp cotton pad or cloth to wipe off the tint. No harsh rubbing—your lashes are royalty now.
Aftercare Glow-Up Tips
- Wash Those Hands (Again)
Your work here is done, but hygiene is still queen. - Snap That “After” Selfie
Show off those luscious, tinted lashes and get ready for the compliments to roll in. - Keep ‘Em Dry for 24 Hours
No water, no oil, no rubbing—let the tint settle like the diva it is. - Be Gentle
Treat your lashes with love—no tugging, pulling, or harsh cleansers.
Now go rock those dark, dramatic lashes, and get ready to bat them like the flirt you are!
When to Skip the Lash Tint, Babe:
- Sensitive Eyes? – If your eyes tear up over a strong breeze, this might not be your thing.
- Allergies Galore – Known to react to dyes or products? Patch test first or sit this one out!
- Eye Infections – Pink eye or any redness? Heal it up before you glam it up.
- Recent Eye Surgeries – Lasers, lifts, or anything in between? Let those peepers recover first.
- Skin Conditions Around Eyes – If your lids are flaking, itching, or inflamed, hit pause.
- Contact Lens Drama – Take those lenses out, or your tint session might turn into a teary situation.
- Pregnant or Nursing? – Hormones can be tricky; results might not stick, so proceed with care.
When in doubt, play it safe. Healthy lashes are happy lashes!
Ingredient List
- Aqua (Water): The OG hydrator—keeps everything smooth and blendable.
- Cetearyl Alcohol: A creamy BFF that softens and smooths.
- Polyoxyethylene Lauryl Ether: The mix-master—helps oil and water play nice.
- Polyquaternium-63: Your anti-frizz fairy for shiny, manageable hair.
- Glycerol (Glycerin): The moisture magnet—keeps things soft and hydrated.
- p-Phenylenediamine (PPD): The color queen in hair dyes for bold, lasting hues.
- Ethanolamine: Balances pH like a pro to keep things working perfectly.
- Ammonium Hydroxide: Activates hair dye magic for flawless results.
- Glycerine Monostearate: The texture expert—smooth and stable vibes only.
- Ammonium Bicarbonate: Keeps the product steady and balanced.
- Sodium Sulfite: The defender—protects against spoilage and oxidation.
- Coconut Oil: The ultimate nourisher—soft, shiny, and oh-so-lovely.
Together, they’re like the glam squad your hair or skin deserves!

Paraben Free

Animal Friendly

Silicone Free
Sulfate Free
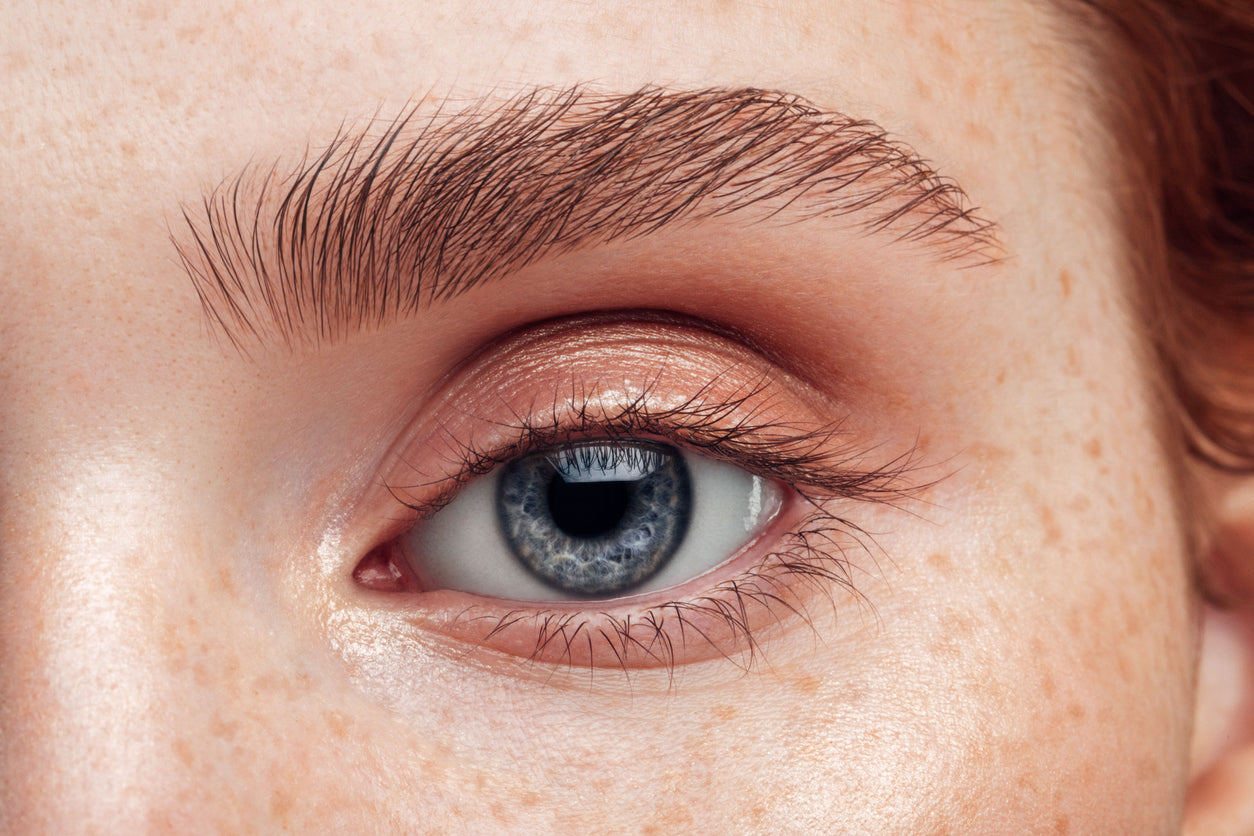
Tint & Slay: Lashes & Brows That Steal the Spotlight!
Bold Lashes & Brows, No Filter Needed!
Why spend a fortune on salon visits when you can get bold, defined lashes and brows right at home?
Our DIY lash/brow tint kit gives you salon-quality results in the comfort of your own space—no appointments, no waiting, and no hassle.
Perfect for busy babes who want stunning lashes and brows without the drama, it’s quick, easy, and gives you long-lasting, natural-looking color.
Get ready to bat those lashes with confidence—your new beauty hack is here!
"I’m officially hooked on lash tinting! I used to spend so much time applying mascara every morning, but now my lashes look dark and defined all day, every day. The DIY kit was super easy to use, and the results lasted for weeks! No smudging, no fuss—just perfect lashes that make me feel fabulous. 10/10, highly recommend!"
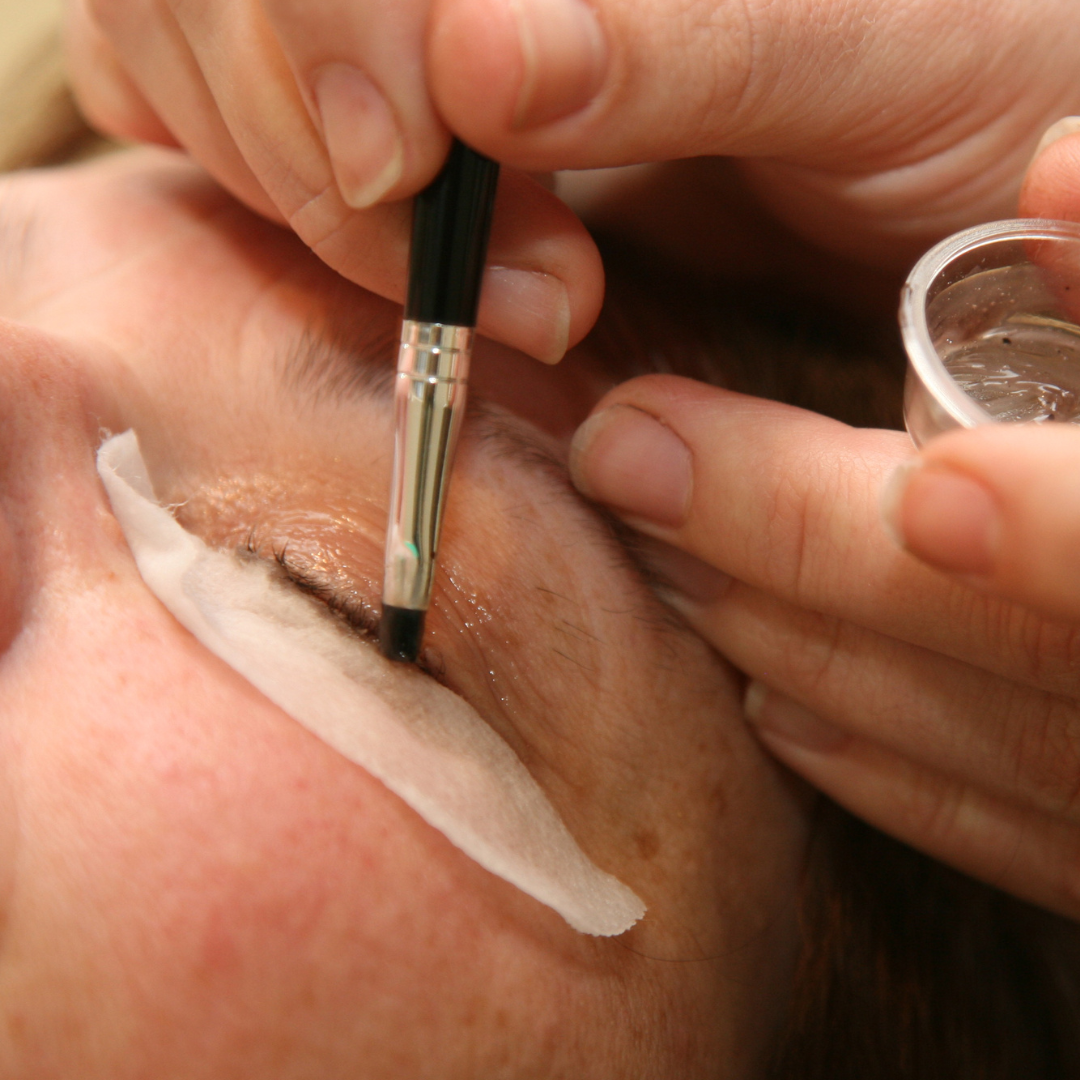
So Easy to do...really!
Never done it before? No Stress!
Don’t stress, beginner—getting flawless lashes is easier than you think! With our DIY lash tint kit, you’ll have access to step-by-step instructional videos and all the tips you need to perfect your lash game. No professional experience required—just follow along and let us guide you to lash perfection. We’re here for you every step of the way, so you’ll feel like a pro in no time. Gorgeous lashes? You got this!


